Hi
Friends!
I loved
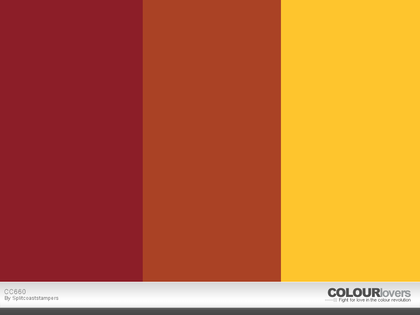
this week’s Splitcoaststampers CC660 "Crazed Over Crushed Cherry Cobbler" Color Challenge with an optional dessert option of "Gratitude"- don’t
you?
 The leaves are all in there spectacular glory here on the East Coast and I wanted to play along so I decided to create a fairly
quick Mixed Media card using Sweet ‘n
Sassy Stamps- Skeleton
Leaf Background (designed by Korin Sutherland) and So
Grateful (designed by Gloria Stengel). I love both of these sets together- so many possibilities plus there is a chance to win the So Grateful stamp set with our Facebook giveaway this week- check out the details here!!
I
also am participating with the Little Red Wagon #419 “Harvest Time” Challenge (fall, harvest, leaves) and the A Bit More Time to Craft #55 “Anything Goes” Challenge.
If
you have not had a chance to visit the above challenge sites or the SNSS Blog/FB Page yet, I encourage you to do so- wonderful
inspiration from all!
Plus, we are celebrating our 10th Birthday at Sweet 'n Sassy Stamps- there are so many promotions along with a few giveaways! Come check out the details here!!
To
create this card:
1).
Tap Tim Holtz® Distress Oxide Inks onto a silicone craft mat- Fossilized Amber,
Candied Apple and Fired Brick (I worked with two colors at a time). Lightly spritz with water, place a piece of
white cardstock into the ink, “smoosh” around, lift up and repeat until you are
satisfied with the coverage :-).
 Ink the Skeleton Leaf Background stamp with
archival black ink, stamp onto the panel prepared in Step #1, re-ink and stamp
partially to fill up the panel. Dry with
a heat tool (to speed up the drying process), trim to approx. 3 ¾” x 5” and cut
into three panels. Mount each panel onto
black cardstock and trim close to the edge.
Add a bit more color with water-based cherry and cajun inks as
needed.
3).
Trim a piece of white cardstock to 4” x 5 ¼”, mount onto a piece of black
cardstock, trim close to the edge and mount onto the white card front.
4).
Add the leaf panels to the card front with dimensional foam.
5).
Ink the sentiment from So Grateful with archival ink, stamp onto a piece of
vellum, apply gold embossing powder and heat set with the heat tool. Trim the sentiment and adhere to the card
front (I used adhesive in the top left corner and behind the letters).
 6).
Add the looped thin black satin bow with the antique brad center to the left corner
(hides the adhesive for the vellum) and a few copper sequins to finish off the
card.
Ink/Mediums:
Versafine™ Onyx Black, Tim Holtz® Distress Oxide Inks-Fossilized Amber, Candied
Apple, Fired Brick; Stampin’ Up! Classic Ink- Cherry Cobbler, Cajun Craze
Paper/Cardstock:
Whisper White, Basic Black
Acessories/Tools:
Embossing Buddy®, Gold Embossing Powder, Heat Tool, 1/8” Black Satin Ribbon,
Antique Brad, Copper Sequins
Thanks
again for taking the time to stop by- hugs and I hope you have a blessed week,
sweet friends!


