
Hi Friends!
 This Clean and Simple (CAS) Christmas card is the "stepped up" version of the original design for the Splitcoaststampers’ SC623 Sketch Challenge and I am also linking to the CAS MIX-Up for December and the Simon Says Monday "Let There Be Snow" Challenge.
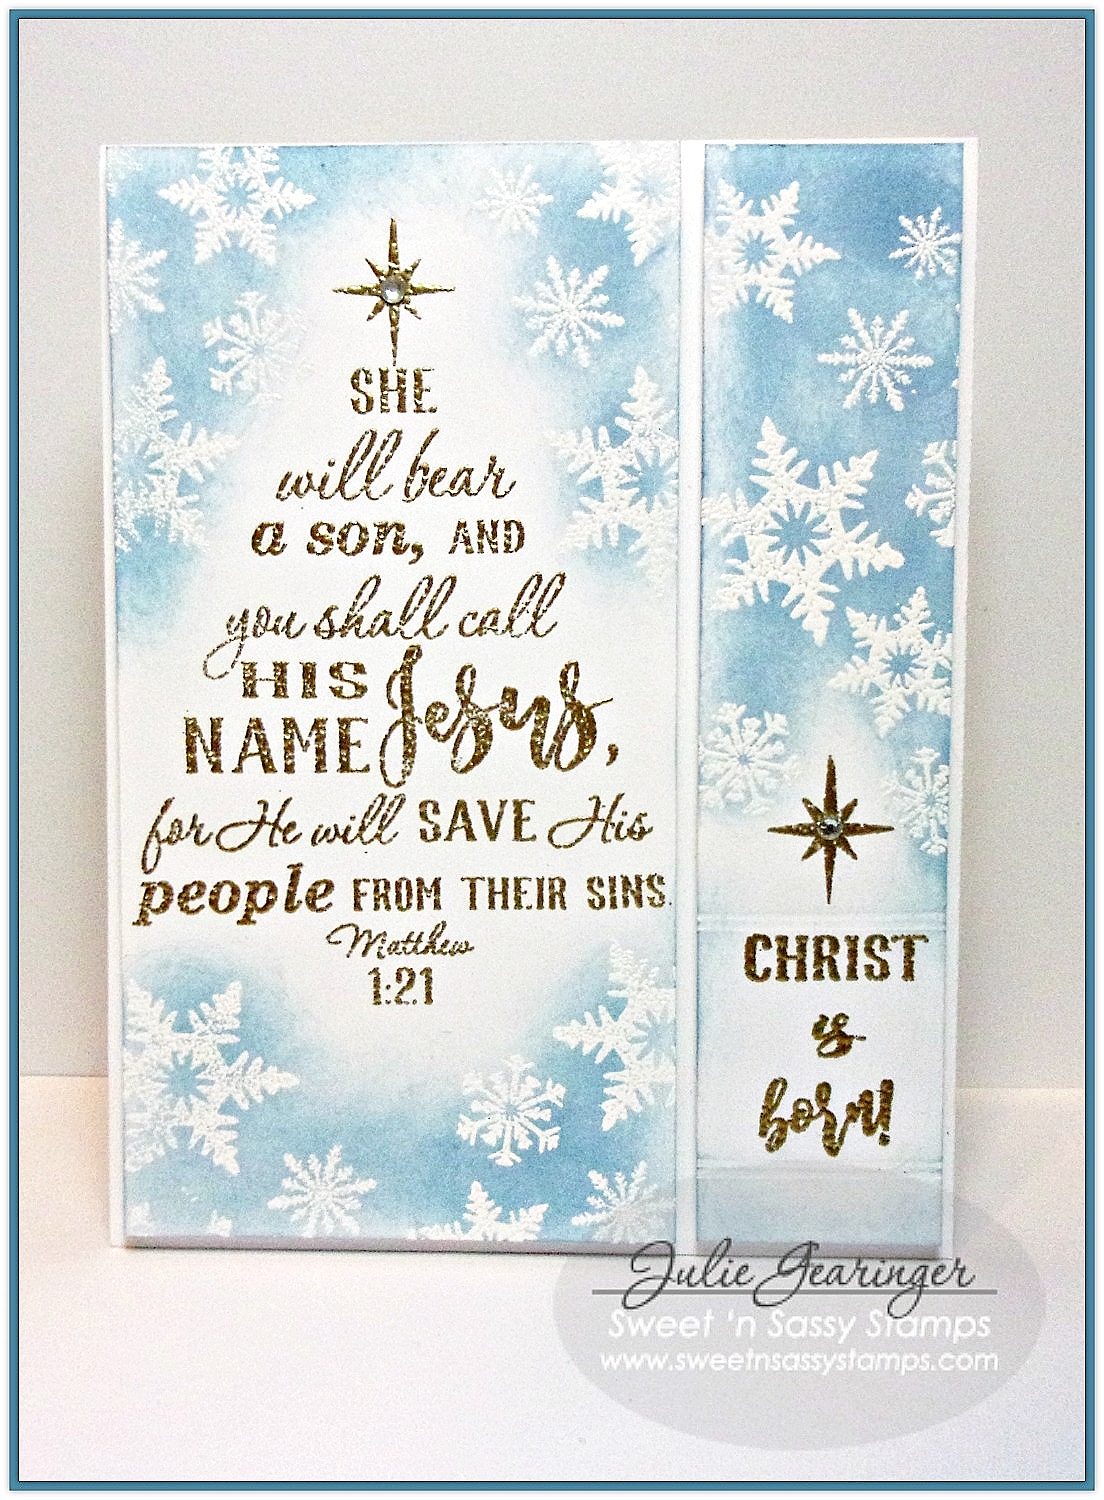
 I decided to keep the card very simple and created two versions- this post has version #1 and both versions use Sweet ‘n Sassy Stamps Clear Stamp Sets, Scripture Tree and Winter Blessings.
In addition to checking out the above challenge sites, if you have not stopped by the Sweet ‘n Sassy Stamps blog or FB page yet, I hope you will take the time to do so- fabulous inspiration is posted each week from the SNSS Creative Team!
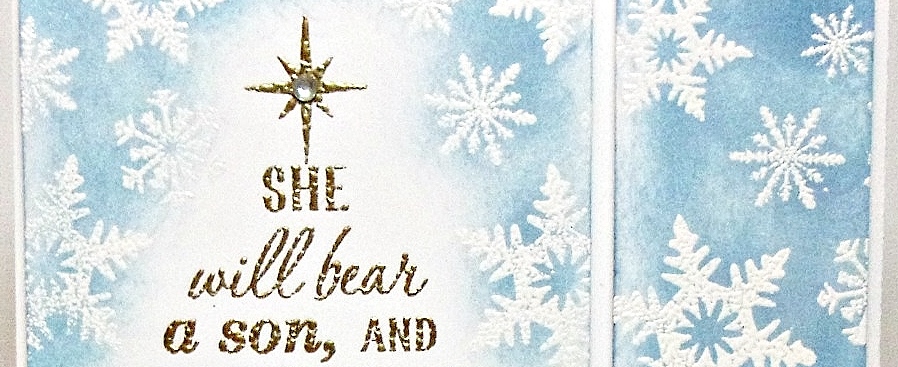
1). De-static a piece of white cardstock with an embossing static tool, ink the SNSS Scripture Tree Clear Stamp main tree image with embossing ink and stamp onto the upper left hand portion of the panel.
2). Apply gold embossing powder and heat set with a heat tool.
3). Repeat the same steps above with placing the individual word images from SNSS Scripture Tree Clear Stamp Set, stamping and embossing on the lower right hand side of the trimmed piece of the panel.
4). Ink just the star from the SNSS Scripture Tree image with embossing powder, apply gold embossing powder and heat set.
5). Once the powder has cooled, score double lines above and below the sentiment area (hard to see in the photo).
6). De-static both panels again with an embossing static tool, arrange various snowflakes from the SNSS Winter Blessings Clear Stamp Set, ink with embossing powder and stamp around the panels.
7). Apply white embossing powder over the stamped snowflakes and heat set with a heat tool.
8). Use a sponge dauber with Tumbled Glass Distress Ink to sponge over the snowflake areas and lightly wipe with a paper towel to remove the excess ink from the embossing.
8). Use a sponge dauber with Tumbled Glass Distress Ink to sponge over the snowflake areas and lightly wipe with a paper towel to remove the excess ink from the embossing.
9). Adhere the panels to the white card base with dimensional foam (leaving a space in the center per the sketch) and add rhinestones to the stars to finish off the card.
Quick and easy!! This version has a bit more color than the all white version (see here in this post).
Thanks again for taking the time to visit-hugs and I hope you have a fabulous week, sweet friends!
 |  |


