Hi Friends!
I had a chance to spend some time
stamping last night and decided to create a card using the Artistic Outpost Roses in Paris and Grunge Elements stamp sets along with ODBD Pierced Circles Dies
and Chalkboard Collection 6x6 Paper (all available from Our Daily Bread Designs).

 I love to participate in online
challenges and incorporated the Fab Friday #113 Sketch Challenge along with the
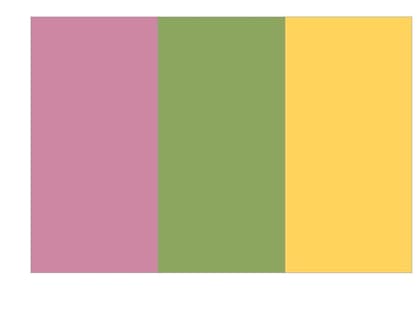
Splitcoaststampers CC637 Color Challenge and the Try It On Tuesday “FeatheredFriends” Challenge into the design.
If you have not had a chance to check
out the Artistic Outpost blog or the other challenge sites yet, I encourage you
to do so! Inspiration is posted each
week on the AO Blog/ AO Facebook Page and the challenge galleries have gorgeous
inspiration as well!
To create this card:
1). Ink
the Roses in Paris background stamp with archival black ink, stamp onto white
cardstock, heat set with a heat tool and color the image using water-based
markers and a water soluble graphite pencil.
 2). Center
and die cut/emboss the focal image with the Pierced Circles Dies (I also die
cut a second circle from black cardstock to adhere behind the image for
stability).
3). Create
the background panel by pressing a bit of sugarplum ink onto a cellophane
envelope, spritzing lightly with water and pressing the white cardstock into
the ink, lifting and repeating as necessary (drying between layers with a heat
tool).
4). Once
you are satisfied with the background, ink the large splatter stamp from Grunge Elements with black soot distress ink, stamp onto the panel. Add additional splatter by diluting black
soot ink with water (I used a craft mat) along with a paint brush to splatter
around the edges. Trim the panel, mount
onto a piece of black cardstock, trim again and mount onto the white card base.
5). Create
the horizontal layers of the sketch – use a polka dot piece of Chalkboard Collection 6x6 Paper (I used a scrap), trim and mount onto a piece of black cardstock. For the banner layer, trim the piece of
sugarplum cardstock, create the banner points and stamp the grid image from
Grunge Elements with black soot ink over the panel. Mount onto black cardstock, trim and adhere
both layers to the card front.
6). Mount
the focal image die cut circle using dimensional foam onto the card front, add
the black hemp twine bow and button along with a few black ebony crystal drops . Use a clear shimmer pen to add shimmer to the
rose petals and an extra fine white paint pen to add highlights to the
petunias.
Thanks again for taking the time to
stop by and visit- hugs and I hope you have a wonderful week, sweet friends!


7 comments:
Simply stunning! Awesome vintage card, great take on the sketch! Thanks for joining us at Fab Friday, hope to see you again soon!
Wow! You have managed all the layers, images, colors, textures - ALL of it, so skillfully! Love these colors together, too! Thanks so much for playing at Fab Friday!
Thank you for sharing your beautiful card with us at Try it on Tuesdays.
Yvonne
Wonderful project, thanks for joining us at TIOT. Hugs, Valerie
A loverly card Julie , love how you've focused on the central part of the image.
Thanks for sharing at TioT
Avril x
Hi Julie, how's it going, friend?
Your card is absolutely stunning! I often wonder at the amazing way you combine elements, WOW!
So cool! I love the vintage collage look but it's so fresh with the hot pink and black! Thanks for sharing at Fab Friday!
Post a Comment