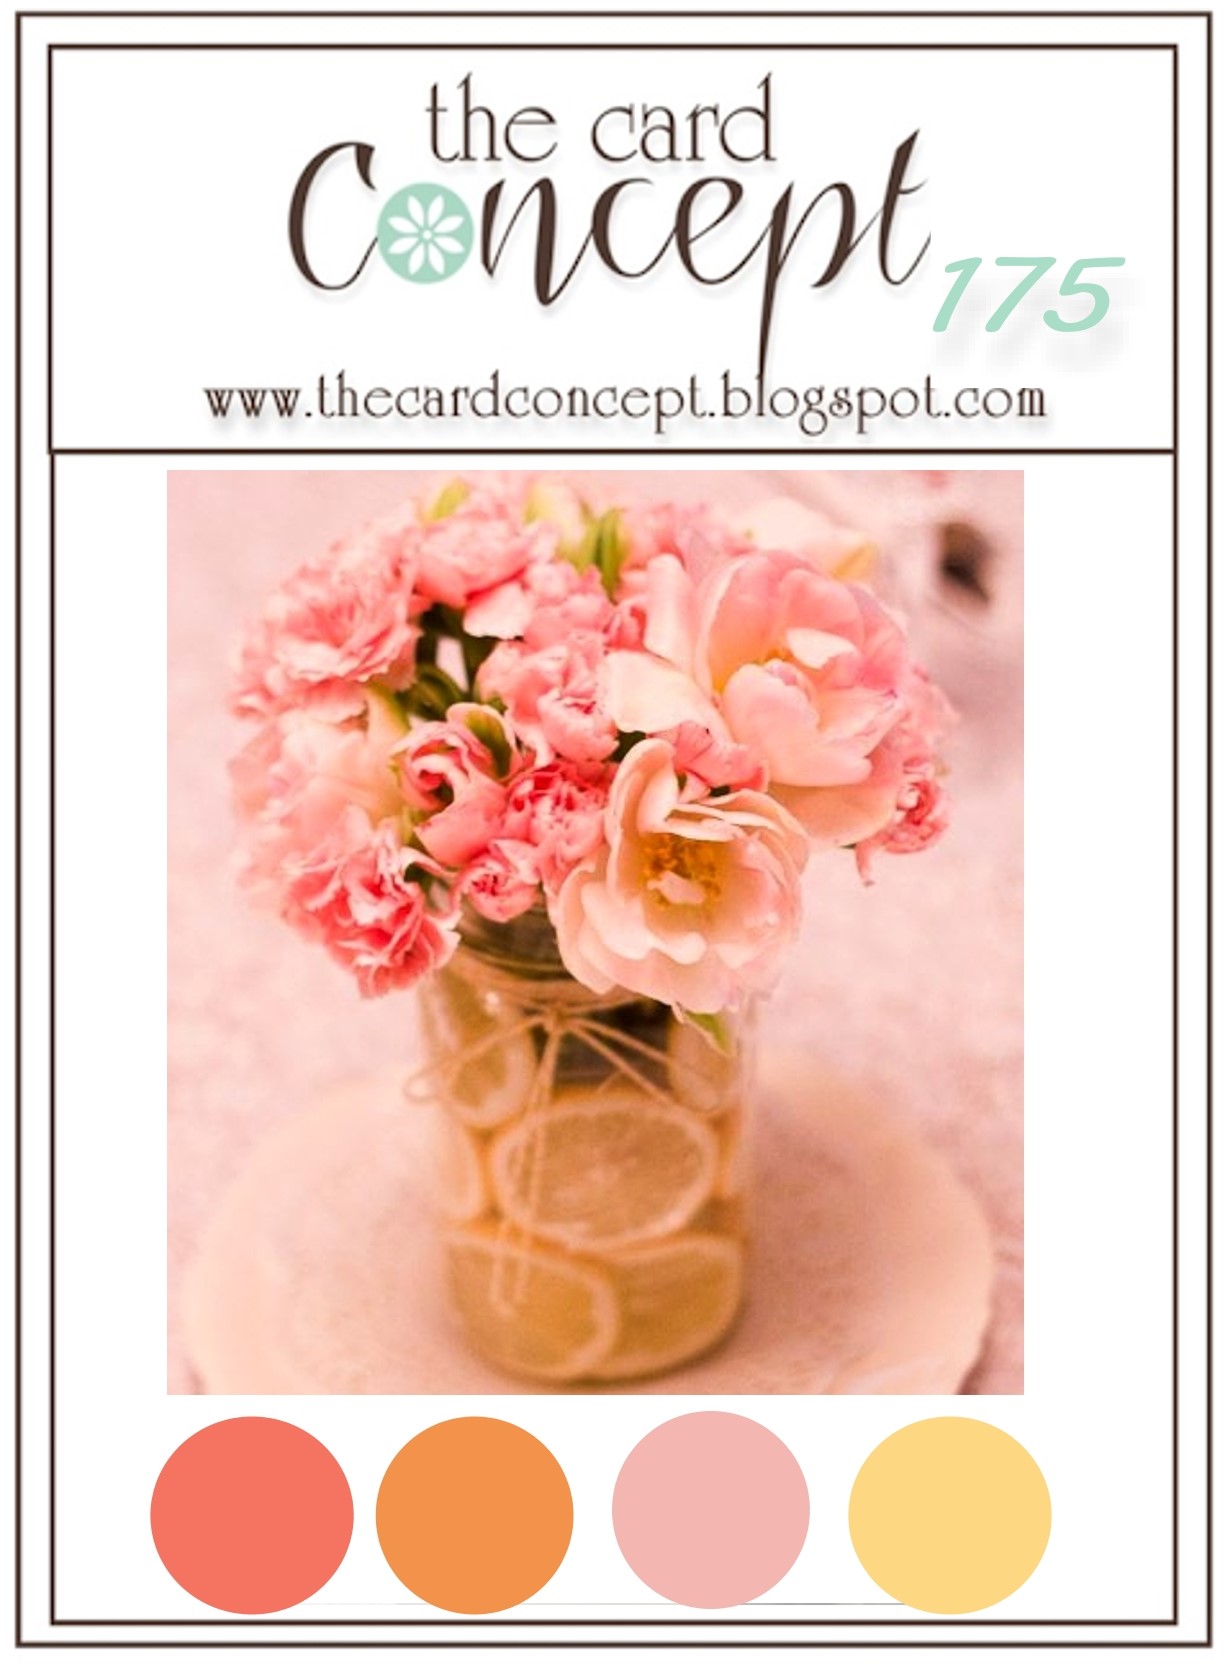
Wednesday, May 11, 2022

TCC175 It Is The Gift of God


Hi Friends!

Welcome to the #175 May Flowers Challenge at The Card Concept! 

I love this beautiful floral arrangement and was inspired by the colors in the challenge photo to create a Mixed Media card.

As I have mentioned in previous posts, I have a personal goal to create cards using stamps and supplies that I already own (and have not inked up in a while) as well as a card for each of the over 900 Splitcoaststampers’ Sketch Challenges (I was able to incorporate Sketch #SC362 into the design of this card).   

For the main image, I pulled out the butterfly image from the retired Stampin’ Up! set, Ageless Adornments and the script image from the retired Stampin’ Up! Botanicals and paired it with a verse sentiment from the Scripture Collection 2 stamp set
(still available at
Divinity Designs LLC).

If you have not had a chance to visit the Splitcoaststampers’ gallery or our Design Team/gallery at The Card Concept Challenge, I hope you will find time to do so- so much inspiration from all!

To create this card:


Using a brayer, apply Peach Parfait and Melon Mambo to a piece of Glossy White cardstock. 

Once the ink has dried on the glossy panel, de-static with an embossing powder tool, ink the butterfly image with Versafine™ Black Onyx ink, stamp onto the prepared panel, apply Clear Embossing Powder and heat set with a heat tool. 

Once cooled, trim close to the edge of the stamped image, mount onto a piece of black cardstock and trim close to the edge.

Use a stencil brush with a Flourish stencil to apply Peach Parfait and Melon Mambo onto a piece of Very Vanilla cardstock. 

Trim the stenciled panel to approx. 4” x 5 ¼”, de-static the lower right hand corner with an embossing powder tool, stamp the Scripture stamp from Scripture Collection with Versafine™ Onyx Black ink, apply clear embossing powder and heat set with the heat tool.

Trim a piece of the patterned Kirby Teesdale designer paper to approx. 2 ¼” x 2 ¼”.  Mount onto black cardstock and adhere directly to the top of the background panel (per the sketch).

Ink the script image from Botanicals with Versafine™ Onyx Black ink, repeatedly stamp over the background panel and the designer paper.

Add a strip of 1 ¼” black satin ribbon over the cut edge of the upper panel, wrap the ends of the ribbon behind the panel.

Adhere the panel to a white card base.

Adhere the butterfly image to the card front with dimensional foam and add a few pearls to the ribbon layer along with the upper left hand corner of the designer paper layer and the lower right hand corner of the background panel.

Use a white gel pen to add a few white highlights to the butterfly image to finish off the card.

Stamp Sets:  Ageless Adornments, Botanicals (both retired Stampin’ Up!), Scripture Collection 2 (Divinity Designs LLC)

Ink/Mediums:  Versafine™ Onyx Black,  Picked Raspberry, Vintage Photo Distress Oxide, Stampin’ Up!- Peach Parfait, Melon Mambo; Extra Fine White Paint Pen

Cardstock/Paper:  Glossy White, Very Vanilla, Basic Black; Kirby Teesdale Designer Paper (Paper Studio), Whisper White, Elegant Eggplant, retired designer papers (Stampin’ Up!)

Accessories/Tools: Embossing Powder Tool, Clear Embossing Powder, Heat Tool, Brayer, Stencil Brush, Tim Holtz™ Flourish Layering Stencil, 1 ¼” Black Satin Ribbon (from my stash), Pearls

Thanks again for taking the time to visit- I hope you have been inspired to join us with our #175 May Flowers Challenge  at The Card Concept!

Tuesday, May 10, 2022

TCC174 I Can Do All Things Through Christ


Hi Friends!

This card was designed for The Card Concept #174 {How Does Your Garden Grow} Challenge. 

FYI- I was unable to post to my blog when the challenge was live (see this post for more info regarding my beloved hubby going to be with the Lord).  I felt that this verse from the Words of Encouragement stamp set (from Stamp Simply)  is perfect for my life situation right now :-)

I was inspired by the gorgeous flowers, colors and the overall garden theme for my Mixed Media card.   

As I have mentioned in previous blog posts, I have a personal goal to create cards using stamps and supplies that I already own and have not inked up in a while as well as a card for each of the over 900 Splitcoaststampers’ Sketch Challenges (I was able to incorporate Sketch #SC391 into the design of this card).   

For the main image, I checked my stash and found that I had a pre-printed Power Poppy image that I had already printed and colored.  I had printed out numerous images to take to the hospital in June 2019 when my hubby had his bladder and prostate removal surgery and was in the hospital for 13 days.  This colored image seemed to be perfect for this inspiration photo.

If you have not had a chance to visit the Splitcoaststampers’ gallery or our Design Team/gallery at The Card Concept Challenge, I hope you will find time to do so- fabulous inspiration from all!

To create this card:


De-static a piece of white cardstock with an embossing powder tool, stamp the verse image from the Stamp Simply stamp set, Words of Encouragement with Versafine™ Black Onyx ink onto the prepared panel, apply Clear Embossing Powder and heat set with a heat tool. 

Once cooled, trim close to the edge to a rectangular shape, mount onto dark purple cardstock and trim close to the edge.

For the background panel, die cut a piece of white cardstock with a stitched rectangle die (approx. 4 ⅛” x 5 ⅜”), mount onto a piece of dark purple cardstock, trim close to the edge.  Use a flourish stencil with Blushing Bride Ink to add a stenciled background (difficult to see in the photo). 

Emboss a piece of magenta designer paper with a script embossing folder, die cut with a stitched rectangle die, lightly sand with a sanding block.  Mount onto dark purple cardstock and trim close to the edge.

Die cut the water-colored digi image with a window frame die, die cut another window frame from dark purple cardstock, split in the center and mount the water-colored image onto the split frame.

Die cut a green flourish designer paper with a rectangle stitched die for the vertical layer of the sketch), mount onto dark purple cardstock, trim close to the edge and split in the center to spread to 4 ¼” height (this split is hidden behind the water-colored floral image).

Layer all together, add the eggplant satin ribbon and adhere to the white card base.

Add the focal floral image and sentiment with dimensional foam.

Use a white gel pen to add highlights to the floral images and a clear glitter pen to add shimmer to the floral petals.

Finish off the card with a few pearls in the corners of the sentiment and lower left hand edge of the background panel. 

Stamp Sets:  Garden Fireworks (digital image- Power Poppy by Marcella), Words of Encouragement (Stamp Simply)

Ink/Mediums:  Versafine™ Onyx Black, Tumbled Glass and Salty Ocean Distress Oxide Derwent™ Watercolor Pencils and Stampin’  Write markers-Blushing Bride, Melon Mambo, Highland Heather, Elegant Eggplant, Granny Apple Green, Mossy Meadow; Black Watercolor Pencil (SU!), Clear Wink of Stella Glitter Marker, White Gel Pen

Cardstock/Paper:  Whisper White, Elegant Eggplant, retired designer papers (Stampin’ Up!)

Accessories/Tools: Gemini, Jr.™,  MFT Stitched Rectangle A2 Dies- Set 1 & 2 , Window  & Framelit Dies (retired Stampin’ Up!),  Perfect Print Embossing Folder (retired Stampin’ Up!), Embossing Powder Tool, Clear Embossing Powder, Heat Tool, 1” Dark Purple Satin Ribbon (from my stash), Pearls

Thanks again for taking the time to visit- I hope you have been inspired to join us in the future at The Card Concept!

Saturday, May 7, 2022

TCC173 My Help Comes From The Lord


Hi Friends!

I apologize for the delay in posting to my cards for The Card Concept challenges to my blog.  Some of you who follow my blog know that my hubby has been battling different cancers (five in total) since 2003.  His battle is over.

My beloved hubby, Dave went to be with the Lord on April 24th , due to a glioblastoma.  He started exhibiting memory issues on February 25th, was diagnosed with a UTI on February 28th  and his memory continued to decline during the week, so he had a MRI on March 7th,   The MRI revealed a lemon sized tumor so we rushed off to the emergency room to wait over 12 hours to have Dave sent via ambulance to Johns Hopkins.  Dave had brain surgery on March 9th  at Johns Hopkins and they could only remove half of the tumor, he had a week long hospital stay and several weeks at rehab until April 8th  I brought him home for supportive/palliative care.  Home Health Care came in on the morning of April 9th and felt (as I did) that Hospice should be called in.  Hospice was ordered and started to assist with his care on  April 16th and my darling Dave took his last breath on earth and first breath in heaven on Sunday the 24th.

Dave and I had discussed at great length over the years that we never wanted to be a burden on anyone and our worst fear would be that we would lose our memories/brain function,  On the day of the MRI and after surgery, Dave had no short-term memory at all, could not walk on his own, had to be reminded to eat/drink, and could not do anything for himself.  

While I did not want to lose my husband here on earth, he was not the same since the MRI and after surgery, he continued to decline mentally and physically due to the location of the brain tumor.

Glioblastoma has no cure and is a difficult cancer to endure.  I am thankful that Dave did not seem to have pain (until the Wed. before he passed and we were able to get him on pain meds so he did not feel any pain).  Plus, he did not really seem to know that he had a brain tumor.  He remained my sweet husband as far as demeanor and so many have had worse symptoms, I was so blessed to have had such a wonderful husband. 

I know that Dave is with the Lord and take great joy in knowing that I will see him again one day along with Jesus!  We both accepted Christ as our Lord and Savior on June 8, 1996 and had almost forty years together (twenty-five as Christians and serving the Lord)! He was my best friend here on earth and while I am heartbroken and miss him terribly, I am also at peace.

This verse is one that has been special to me during the time of being Dave’s caregiver-

 Nehemiah 8:10b ESV

And so not be grieved, for the joy of the Lord is my strength”.

Also the verse on my card for this challenge is perfect for how I felt during this time-

Psalm 121:1-2 ESV

“ I lift up my eyes to the hills.
    From where does my help come?
 My help comes from the Lord,
    who made heaven and earth.”
  

Thank you for your prayers during this time- I am truly blessed beyond words!

This card was designed for The Card Concept #173 {Vintage Style} and I was inspired by the florals on the pillows along with the black script to create a Clean and Layered vintage style Mixed Media card.

I have a personal goal to create a card using stamps and supplies that I already own and have not inked up in a while.  I pulled out this gorgeous Roses & Prayers (collage stamp) from Unity Stamp Co and paired it with a verse sentiment from the Sweet ‘n Sassy Stamps, Be Encouraged clear stamp set.

I also have a personal goal to create a card for each of the Splitcoaststampers’ sketches and I used the SC470 Sketch Challenge for the layout on this card.


If you have not had a chance to visit the Splitcoaststampers’ gallery or our Design Team/gallery at The Card Concept Challenge, I hope you will find time to do so- so much inspiration from all!

To create this card:


De-static a piece of black cardstock with an embossing powder tool, stamp the verse image from So Encouraged with Versamark™ ink onto the prepared panel, apply White Embossing Powder and heat set with a heat tool. 

Once cooled, trim close to the edge and create the “flags” on the end by hand.

Die cut a piece of white cardstock with a stitched rectangle die, de-static with an embossing powder tool, stamp the Roses & Prayers image with Versafine™ Onyx Black ink onto the prepared panel, apply Clear Embossing Powder and heat set with a heat tool. 

Once the embossing has cooled, watercolor the image with water-based markers and use a flourish stencil with Tumbled Glass Distress Oxide ink to add a bit of color in the background (hard to see in the photo).

Mount the floral image layer onto black cardstock, trim close to the edge.

Emboss a piece of white cardstock with the 3D Diamond embossing folder, trim to approx. 4 ⅛” x 3 ½”, mount or a piece of 4 ¼” x 5 ½” piece of black cardstock.

Add a layer of striped designer paper to the lower portion of the black panel.

Die cut a piece of white cardstock with the Tim Holtz Crochet Die, mount onto the background panel with the edges facing up.

Add a strip of 1” black satin ribbon to cover the cut edges of the designer paper and lace, wrapping the ends behind the panel.  

Mount the background panel onto a white card base.

Adhere the main floral image panel on a diagonal (per the sketch) using dimensional foam (or chipboard).

Add the sentiment layer and a few pearls in the upper right hand corner.

Use a clear glitter marker to add shimmer to the rose petals to finish off the card,

Stamp Sets:  Roses & Prayers (Unity Stamp Co.), Be Encouraged (Sweet ‘n Sassy Stamps)

Ink/Mediums:  Versafine™ Onyx Black, Versamark™; Stampin’ Write markers- Blushing Bride, Poppy Parade, Mossy Meadow; Black Watercolor Pencil (SU!), Clear Wink of Stella Glitter Marker, Tumbled Glass Distress Oxide

Cardstock/Paper:  Whisper White, Basic Black, retired red striped designer paper (Stampin’ Up!)

Accessories/Tools: Gemini, Jr.™,  WRMK 3D Diamond Embossing Folder, MFT Stitched Rectangle A2 Dies, Square Punch (to create banner), Sizzix Tim Holtz Crochet Thinlit Dies, Embossing Powder Tool, Clear and White Embossing Powder, Heat Tool, 1” Black Satin Ribbon (from my stash), Pearls

Thanks again for taking the time to visit- I hope you have been inspired to join us in the future at The Card Concept!

Related Posts Plugin for WordPress, Blogger...