Hi Friends!
Welcome
to the February Mini Release from The Stamp Simply Ribbon Store!
This past week, we have been sharing the rest of Stamp Simply Design Team’s
cards on the Stamp
Simply blog- so much inspiration, I hope you will check it out!
With
Easter just around the corner, this new release has two Easter sets along with
a sentiment set perfect for Baptism, Communion, and other occasions.

Plus, in addition to the new release, coordinating dies were created for some
of our favorite stamp sets and a new paper pad from Echo Park!

For this card, I combined the new Easter is for Jesus
stamp/die bundle along with the Welcome Easter 6x6
paper pad from Echo Park.
I
love all the sentiments in the Easter
is for Jesus stamp set, but especially thought that the “Silly Rabbit”
along with “Easter is for Jesus” would be great together for a muted background
for the sweet bunny image.
Plus,
I thought that the two Easter
is for Jesus sentiments, “He died for you” and “Can you live for Him?”
would be perfect to combine on one card with the Cross image as well as the bunny
and the eggs.
What
a reminder of the Real Reason for Easter- Christ died for you and me! Can you live for Him?
Right
now, there is a sale on the entire release as a bundle for $69.95 (offer good
through 02/28) you still have time to create those special Easter cards to send
to your family!


I
am also linking to the Simon Says Wednesday “Anything Goes” Challenge and the
Watercooler Wednesday #310 Marsha's “All About Occasions” Challenge.
If
you have not had time to check out the Stamp Simply blog or the above challenge
sites yet, I hope you will do so- fabulous inspiration from all!
To
create this card:

Once the embossing is cooled, use the coordinating dies from the Easter
is for Jesus bundle to die cut each of the images.
Watercolor the images using water-based markers and set aside to dry.
Trim a piece of the green plaid paper from the Welcome Easter 6x6 Paper
Pad by Echo Park to 4” x 5 ¼”. De-static the plaid paper
with an embossing powder tool,
stamp the “He Died for you” and “Can you live for Him?” sentiments from Easter
is for Jesus using a pigment black ink, apply clear
embossing powder and heat set with a heat tool.
Once the embossing has cooled, mount onto a piece of black cardstock
(trimming close to the edge).
Add a strip of ½”
Black Seam Binding (wrap the edges behind the panel) and mount onto a white
card base.
Mount the Easter
is for Jesus sentiments, “Silly Rabbit” along with “Easter is for Jesus” onto
a clear block and instead of ink, use a turquoise
water-based marker to color the sentiments.
Stamp onto a square piece of white cardstock, “huff” onto the sentiment
to re-moisten the stamps and continue this process to stamp repeatedly
(creating the background).
Trim the piece to approx. 2 ¾” square, mount onto a piece of black
cardstock and trim close to the edge.
Die cut a strip of white cardstock with the Sizzix Thinlit Dies by Tim
Holtz- Crochet to create a piece of paper lace and adhere behind the background panel created
in the step above.
Adhere the background panel with dimensional foam (or chipboard).
Add the colored, die-cut bunny image along with the die-cut eggs (using
dimensional foam/chipboard as needed for dimension).

Stamp
Sets: Easter is for Jesus Bundle (Stamp Simply)
Ink/Mediums:
Versafine Onyx Black, Zig Clean Color Markers- Light
Gray, Pinks, Green, Yellow, Turquoise, Brown
Cardstock/Paper: White, Black; Welcome Easter 6x6 Paper Pad by Echo Park

Accessories/Tools:
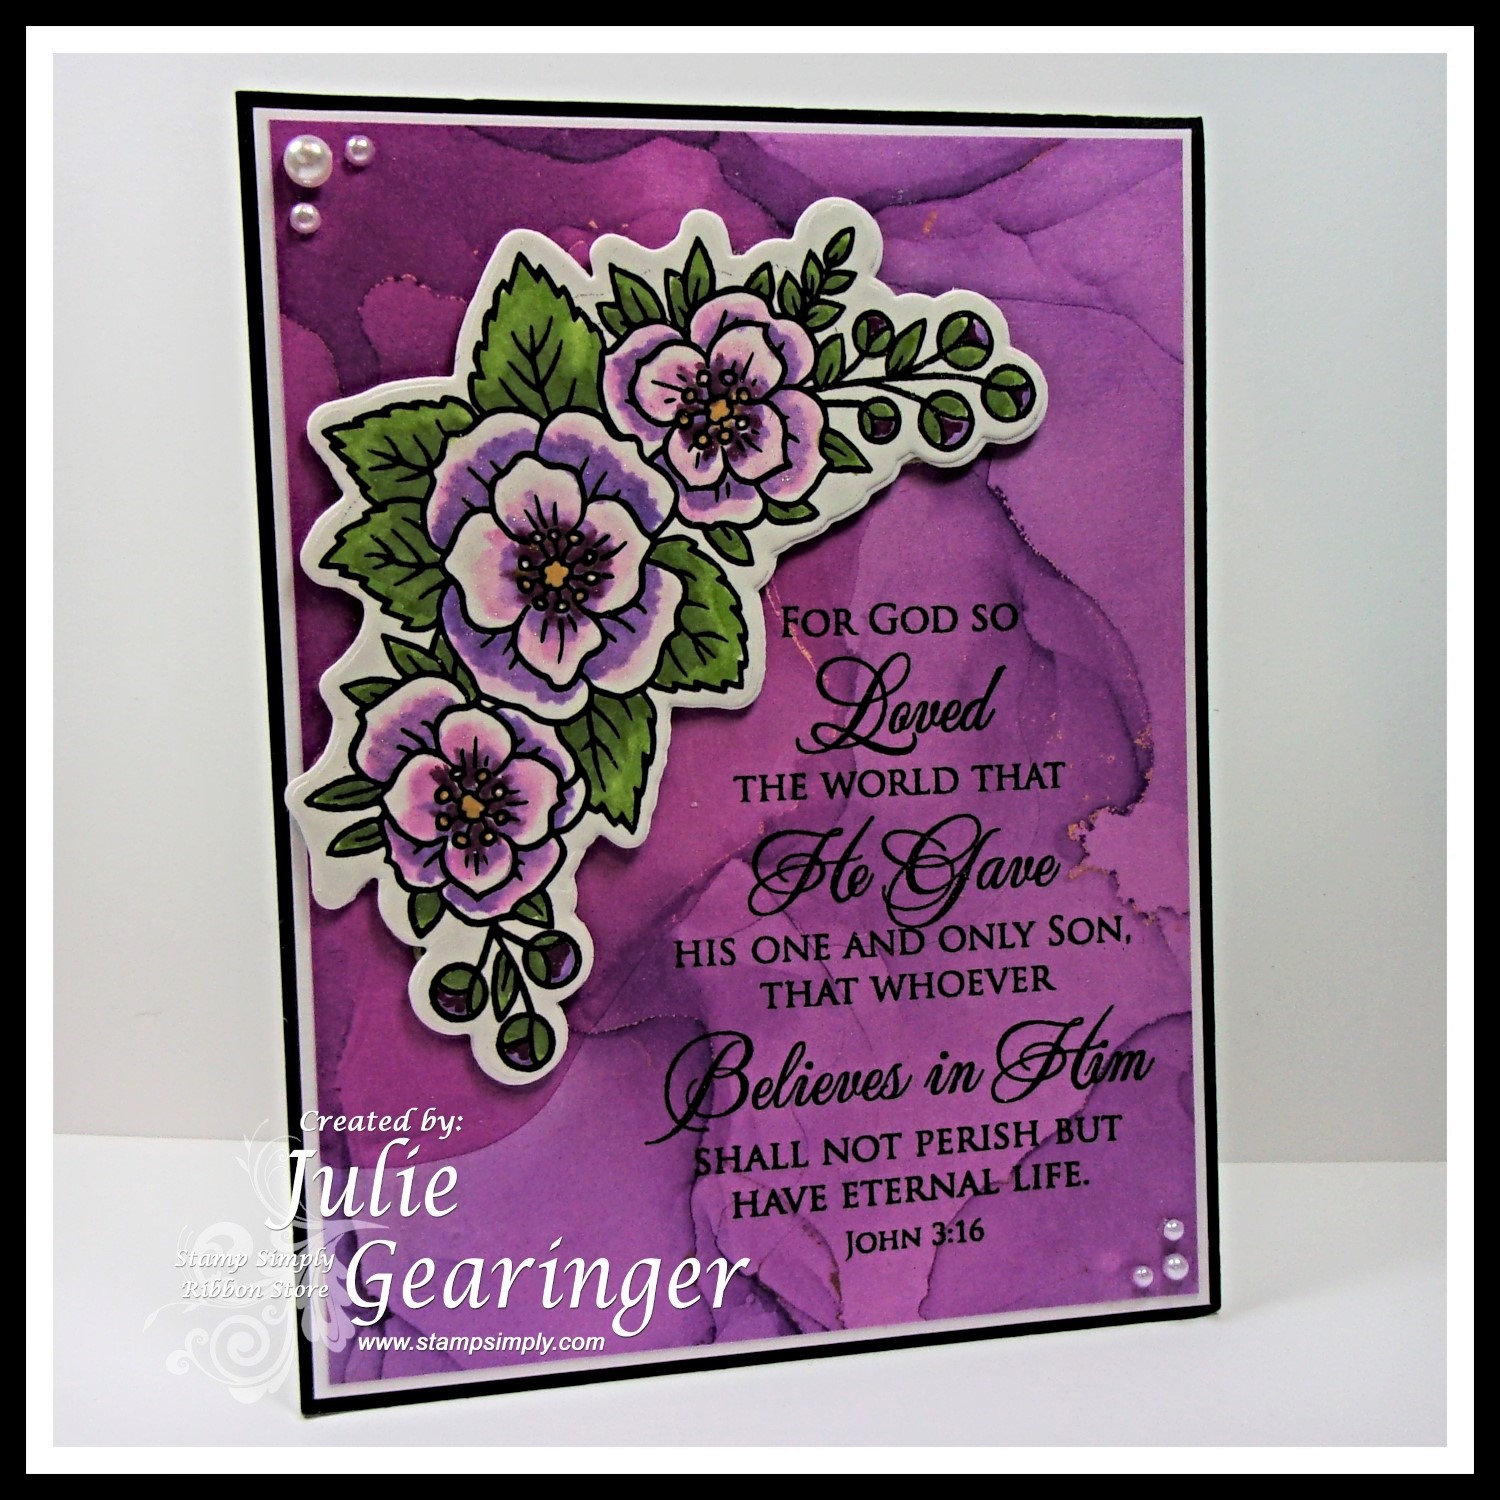
Gemini, Jr., Stamp Simply Dies- Floral Cluster &
Sprigs Dies (part of the Floral Cluster Bundle),
Sizzix Thinlit Dies by Tim
Holtz- Crochet, Embossing Powder Tool, Clear Embossing Powder, Heat Tool, ½”
Black Seam Binding
Thanks again for taking the time to stop by- I hope all of you have a wonderful
weekend/week!