Showing posts with label Botanicals. Show all posts

Wednesday, May 11, 2022

TCC175 It Is The Gift of God


Hi Friends!

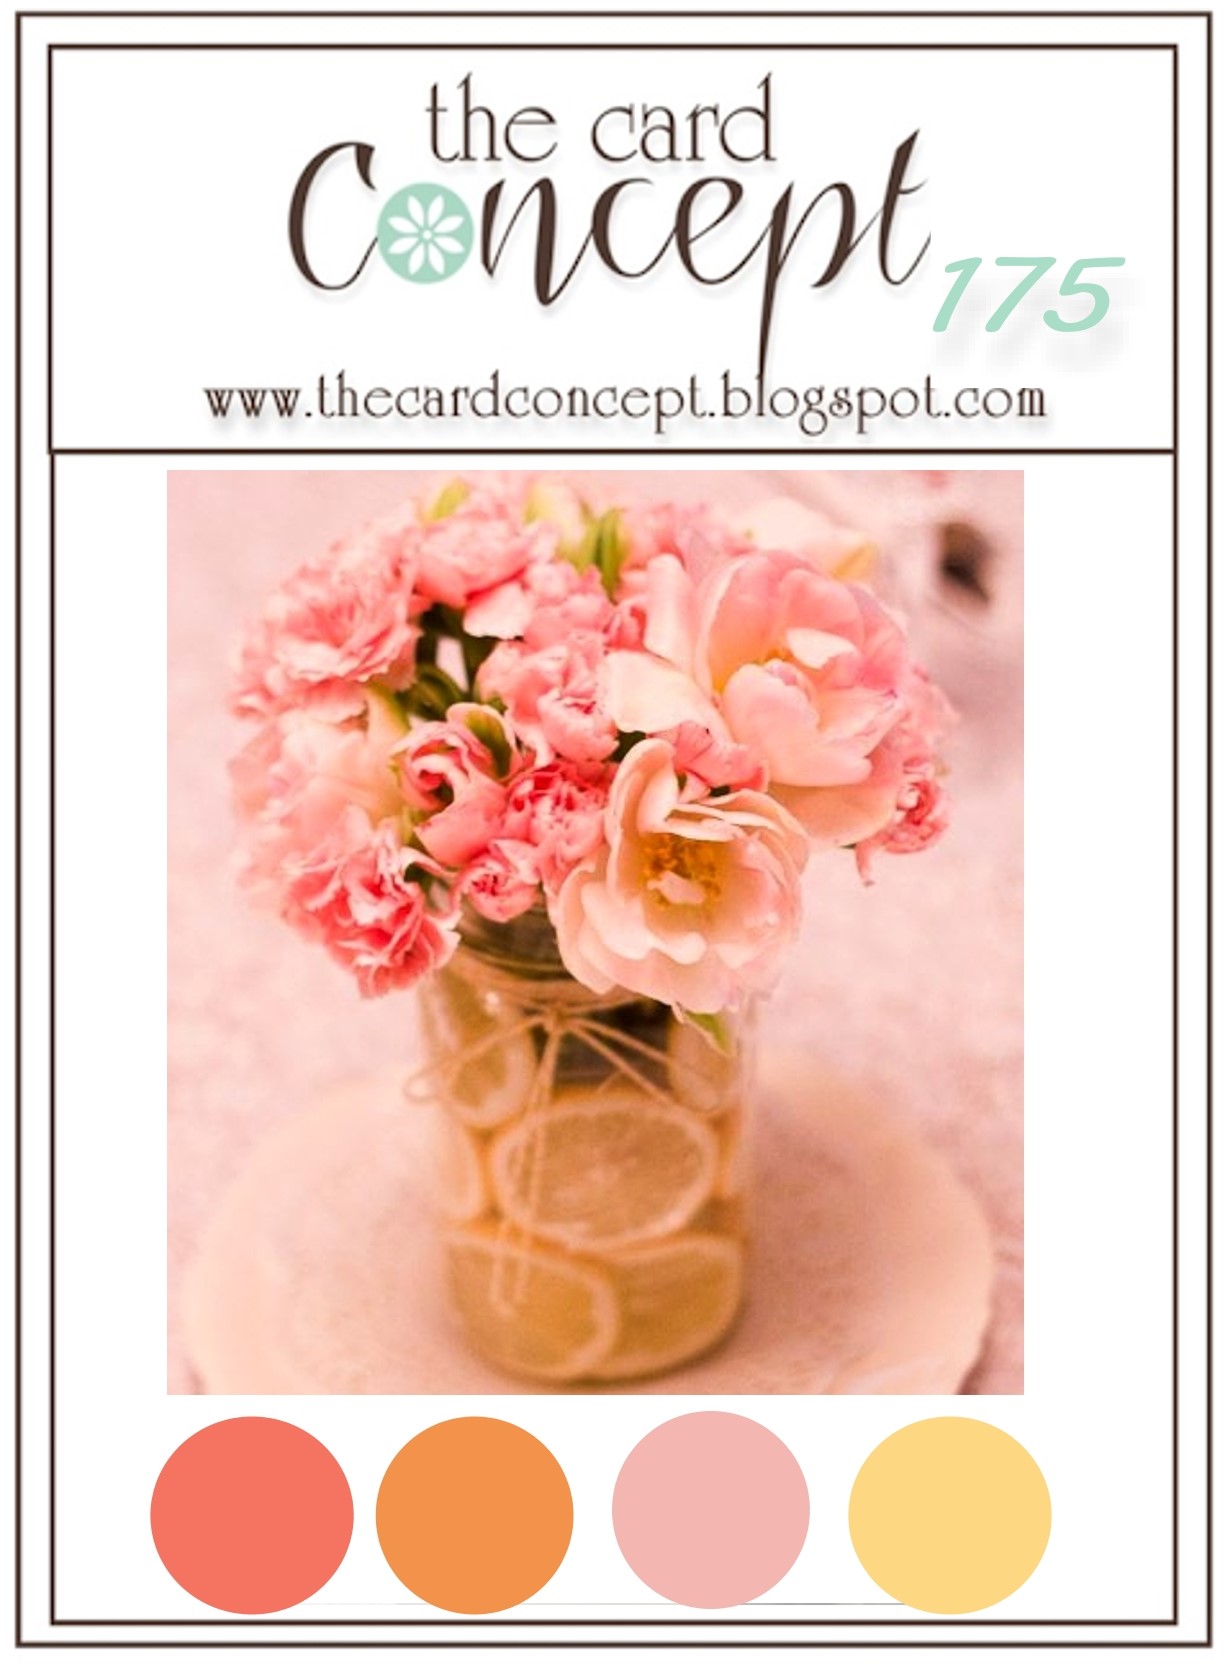
Welcome to the #175 May Flowers Challenge at The Card Concept! 

I love this beautiful floral arrangement and was inspired by the colors in the challenge photo to create a Mixed Media card.

As I have mentioned in previous posts, I have a personal goal to create cards using stamps and supplies that I already own (and have not inked up in a while) as well as a card for each of the over 900 Splitcoaststampers’ Sketch Challenges (I was able to incorporate Sketch #SC362 into the design of this card).   

For the main image, I pulled out the butterfly image from the retired Stampin’ Up! set, Ageless Adornments and the script image from the retired Stampin’ Up! Botanicals and paired it with a verse sentiment from the Scripture Collection 2 stamp set
(still available at
Divinity Designs LLC).

If you have not had a chance to visit the Splitcoaststampers’ gallery or our Design Team/gallery at The Card Concept Challenge, I hope you will find time to do so- so much inspiration from all!

To create this card:


Using a brayer, apply Peach Parfait and Melon Mambo to a piece of Glossy White cardstock. 

Once the ink has dried on the glossy panel, de-static with an embossing powder tool, ink the butterfly image with Versafine™ Black Onyx ink, stamp onto the prepared panel, apply Clear Embossing Powder and heat set with a heat tool. 

Once cooled, trim close to the edge of the stamped image, mount onto a piece of black cardstock and trim close to the edge.

Use a stencil brush with a Flourish stencil to apply Peach Parfait and Melon Mambo onto a piece of Very Vanilla cardstock. 

Trim the stenciled panel to approx. 4” x 5 ¼”, de-static the lower right hand corner with an embossing powder tool, stamp the Scripture stamp from Scripture Collection with Versafine™ Onyx Black ink, apply clear embossing powder and heat set with the heat tool.

Trim a piece of the patterned Kirby Teesdale designer paper to approx. 2 ¼” x 2 ¼”.  Mount onto black cardstock and adhere directly to the top of the background panel (per the sketch).

Ink the script image from Botanicals with Versafine™ Onyx Black ink, repeatedly stamp over the background panel and the designer paper.

Add a strip of 1 ¼” black satin ribbon over the cut edge of the upper panel, wrap the ends of the ribbon behind the panel.

Adhere the panel to a white card base.

Adhere the butterfly image to the card front with dimensional foam and add a few pearls to the ribbon layer along with the upper left hand corner of the designer paper layer and the lower right hand corner of the background panel.

Use a white gel pen to add a few white highlights to the butterfly image to finish off the card.

Stamp Sets:  Ageless Adornments, Botanicals (both retired Stampin’ Up!), Scripture Collection 2 (Divinity Designs LLC)

Ink/Mediums:  Versafine™ Onyx Black,  Picked Raspberry, Vintage Photo Distress Oxide, Stampin’ Up!- Peach Parfait, Melon Mambo; Extra Fine White Paint Pen

Cardstock/Paper:  Glossy White, Very Vanilla, Basic Black; Kirby Teesdale Designer Paper (Paper Studio), Whisper White, Elegant Eggplant, retired designer papers (Stampin’ Up!)

Accessories/Tools: Embossing Powder Tool, Clear Embossing Powder, Heat Tool, Brayer, Stencil Brush, Tim Holtz™ Flourish Layering Stencil, 1 ¼” Black Satin Ribbon (from my stash), Pearls

Thanks again for taking the time to visit- I hope you have been inspired to join us with our #175 May Flowers Challenge  at The Card Concept!

Wednesday, February 5, 2020

TCC128 LOVE


Hi Friends!


What a fun inspiration photo! I love all of the colors as well as the theme of Valentine’s Day!  Originally I was going to create a Clean and Graphic card, but since I wanted to use this vintage LOVE stamp, I decided to design a Shabby and Vintage/Mixed Media card.

In addition to the retired Love Is A Great Thing (Stampin’ Up!) (and in my effort to continue to ink up stamps I already own) I also used images from several other Stampin’ Up! retired sets, Botanicals, Timeless Textures and Tiny Tags. 


The splattered background of this card was created using an acetate envelope technique (I used clear packaging from a stamp set).  Slice open one end of the envelope, open and tap a bit of Real Red Classic Ink onto one side of the envelope, lightly spritz with water, close the envelope and “smoosh” the ink together through the acetate.  Open the envelope, lightly press the white cardstock into the ink and continue with the process until you are happy with the results.

Use Frost White paint diluted with water to add a bit of sheen and tone down the panel.  Ink the script image from Botanicals with black ink and randomly stamp over the background.

Add a bit of platinum embellishment mousse in certain areas and stamp the small splatter stamp from Texture Tiles with silver metallic ink.

Die cut a stitched rectangle from the center of the background panel (for the center focal image panel) and set aside.

Cut the remaining background panel to approx.. 4” x 5 ¼”, adhere to a piece of white cardstock, trim again, mount onto black cardstock, trim and mount onto a white card base.

Ink the Love Is A Great Thing image with Versafine™ Onyx Black Ink, stamp onto white cardstock, apply Clear Embossing Powder and heat set with a heat tool.  

Color the image with water-based markers, watercolor pencils, silver metallic marker and frost white shimmer paint.  Add white highlights with an extra fine white paint pen.

Mount the focal image onto black cardstock, trim close to the edge and add a strip of lace.

Stamp the sentiments from Tiny Tags with black ink, punch out with the Jewelry Tag Punch, add a hole for hanging and thread through the silver cord.  Wrap around the central panel and add the silver cord bow. 

Mount the entire center panel onto the card front, die cut a few flourishes from white cardstock and add to the corners.  Use a clear glitter pen to add shimmer to the die cuts as well as the letters and finish off the card with a few rhinestones.

Stamp Sets:  Love Is A Great Thing, Botanicals, Timeless Textures, Tiny Tags (all retired Stampin’ Up!)

Ink/Mediums: Versafine™ Onyx Black,  Real Red Classic Ink, Encore™ Silver Ultimate Metallic Ink, Stampin’ Up! Watercolor Pencils- Real Red, Old Olive, Arteza ™ Trimarkers- Poppy Red, Watermelon, Bright Pink; Silver Metallic Marker, Nuvo™ Pure Platinum Embellishment Mousse, Frost White Shimmer Paint, Wink of Stella™ Clear Glitter Pen, White Paint Pen

Cardstock/Paper: Whisper White, Basic Black

Tools/Accessories: Gemini, Jr™, MFT Stitched Rectangle STAX A2 Set 1 Dies, Flourish Corner Dies, Embossing Buddy®, Clear Embossing Powder, Heat Tool, 3/8” White Crochet Lace, Silver Cord, Jewelry Tag Punch, Rhinestones, Acetate Envelope

Thanks again for taking the time to visit!  I hope I have inspired you to create your own card based on our {Be Mine, Valentine} photo and link up to our gallery at The Card Concept- we would love to see what inspired you! The challenge is open until Monday, February 17th  at noon EST.

Saturday, January 18, 2020

I Can Do All Things


Hi Friends!!

I hope all of you are having a great week so far! I had a chance to create several cards this week and am hoping to be able to post each of them soon :-)

I am still working on organizing my craft room as well as setting up an area in my living room (my craft room is not very large and so full of "inventory" that I feel a bit claustrophobic when creating in the room).  Thankfully my hubby likes to have me in the same room that he is usually in (i.e. the living room) so we thought a corner in the living room would be ideal :-)  

I am enjoying being in the living room and having more "breathing" space, but I have to bring quite a bit of "stuff" (as he calls it) out of the craft room.  I seem to be spending more time rearranging, etc. to try to "perfect" the space- hopefully soon, I will have the area the way I need it :-)  

This card was created using several retired Stampin’ Up! sets- Bloomin’ Beautiful and Botanicals along with the current Stamp Simply stamp set, Words of Encouragement.

In an effort to use up some of my stash, I also used some of my retired designer series paper from the retired Stampin’ Up! Scrappin’ Kit Tickets & Tags (circa 2011) and retired SU! Black ¼” grosgrain ribbon.  Some of the treasures I am finding as I organize :-)


This card was fairly easy with a bit of heat embossing, masking, watercolor as well as a few quick layers.  The script stamp from Botanicals was used in the background of the focal image panel (love that script image :-)).  

If you have not had a chance to visit the above challenge sites, I hope you will take the time to do so- gorgeous inspiration from all!

Stamp Sets: Bloomin’ Beautiful, Botanicals (retired Stampin’ Up!), Words of Encouragement (Stamp Simply)

Ink/Mediums: Versafine™ Onyx Black, Stampin’ Up! Markers- Pool Party, Poppy Parade, Old Olive; Spectrum Noir™ Clear Glitter Pen, White Gel Pen

Cardstock/Paper:  Whisper White, Basic Black; designer series paper from the retired Simply Stampin’ Tickets & Tokens Kit; White Tea Lace Doily

Accessories: Big Shot™, MFT Stitched Rectangle STAX A2 Set 1 & 2, Embossing Buddy®, Clear EP, Heat Tool, ¼” Black Grosgrain Ribbon

Thanks again for taking the time to visit- I hope all of you have a wonderful weekend!

Friday, October 4, 2019

Gifts of the Earth


Hi Friends!!

I hope all of you are having a great week so far! I had a chance to create a card this evening using a few retired stamp sets- Gifts of the Earth and Botanicals from Stampin’ Up! and Scripture Medley 4 from Verve Stamps.

I wanted to participate in a few online challenges so I incorporated Jaydee's  PP461 Tic-Tac-Toe Challenge at The Paper Players (diagonal- Fall, Die Cut, Pumpkin) along with the Sketch Saturday #503 Sketch Challenge and the Retro Rubber Challenge Blog #120 “Anything Goes” Challenge- two of the sets are at least 10 years old (Botanicals (2002) and Gifts of the Earth (2009).

Again, if you have not had a chance to drop by the above challenge sites yet, I hope you do so- fantastic inspiration from all!

Ink the pumpkin image from Gifts of the Earth using Versafine™ Onyx Black onto white cardstock, apply clear embossing powder and heat set with a heat tool.  

After the powder has cooled, watercolor with water-based markers and die cut with a stitched oval die.  Add the white highlights with an extra fine white paint pen.
Mount the image onto another die cut oval from espresso cardstock, distress the edges with a distressing tool.

Trim the designer paper to fit the angle of the sketch (I left a small gap at a 90 degree angle in the upper left corner in order to use my scrap of the retired Spice Cake Designer Series Paper).  Mount onto espresso cardstock and distress the edges.
Ink the Botanicals script image with espresso ink, repeatedly stamp onto a piece of mustard cardstock, trim per the sketch and heat emboss the Verve sentiment using gold embossing powder. 

Mount onto espresso cardstock on the upper and left hand side only (again I used a triangular scrap- love using my scraps!) and adhere to the front panel.

Add the strip of stitched satin ribbon (wrapping the ends behind the panel) and mount onto the white card base.

Add the white tea lace paper doily and mount the focal image using dimensional foam or chipboard (I have been using chipboard lately to give the larger images more stability). 
Add a few olive green buttons with hemp twine for the centers to finish off the card.

Stamp Sets: Gifts of the Earth, Botanicals (both retired Stampin’ Up!), Scripture Medley 4 (retired Verve Stamps)

Ink/Mediums: Versafine™ Onyx Black, Versamark™, Stampin’ Write Markers- Crushed Curry, Daffofil Delight, Cherry Cobbler, Real Red, Island Indigo, Pumpkin Pie, Cajun Craze, Pear Pizzazz, Old Olive, More Mustard, Soft Suede

Cardstock/Paper: Whisper White, Early Espresso, retired More Mustard; retired Spice Cake DSP

Accessories: Big Shot™ , MFT A2 Stitched Ovals STAX, Ovals;  AquaPainter™, Embossing Buddy®, Clear and Gold Embossing Powder, Heat Tool, 1” Stitched Chocolate Satin Ribbon, retired Old Olive buttons, Chocolate Polished Hemp Twine, White Tea Lace Paper Doily, Distressing Tool

Thanks again for taking the time to visit! I hope you have a wonderful weekend and a chance to be creative, it is such great therapy!

Thursday, August 22, 2019

Beauty is God's Handwriting


Hi Friends!

I am still making an effort to create cards using some of my older stamp sets.

This Clean and Simple card combines three retired Stampin’ Up! sets- Natural Beauty, God’s Beauty and Botanicals.


This card was quick and easy to create- I heat embossed the butterfly image with clear embossing powder onto a white cardstock panel and once cooled, masked the image before stamping the text image and sentiment using water-based markers.  A water brush was used to blend a bit of the color and I used the remaining ink off the silicone mat to create a bit of splatter.

The text image was used on the base and the main image panel was mounted with dimensional foam.

I finished off the card using a clear glitter pen and white gel pen.


If you have not had a chance to stop by the above challenge sites, I encourage you to do so- fabulous galleries and inspiration from all!

Stamp Sets: Nature’s Beauty, God’s Beauty and Botanicals (all retired Stampin’ Up!)

Ink/Mediums: Versafine™ Onyx Black,  Stampin’ Write Markers- Crushed Curry, Elegant Eggplant and Highland Heather; White Gel Pen, Clear Glitter Pen

Cardstock/Designer Paper: Whisper White

Accessories: Embossing Buddy®, Clear Embossing Powder, Heat Tool, AquaPainter™

Thanks again for taking the time to visit- hugs and I hope you have a wonderful weekend!

Wednesday, October 18, 2017

TCC80 His Love Endures Forever


Hi Friends!!

It’s time for the new #80 {Autumn Love} Challenge at The Card Concept! Look at all of the fun elements in this inspiration photo- the owls, the cake with the texture and neutral tones, the leaves and so much more!

I was inspired by the texture of the tone on tone of the cake as well as the colorful leaves and theme of love for my Classy and Elegant card.  The verse says it all- “Give Thanks to the Lord for He is Good, His Love Endures Forever”  1 Chron 16:34.  I am so thankful that God’s Love for us endures forever, aren’t you?

So what will inspire you from our photo?  We would love for you to join us, create a card using our photo for inspiration and add your artwork to our Challenge #80 gallery.


 If you have not had a chance to do so, I hope you will find the time to check out the rest of the wonderful Design Team cards at The Card Concept as well as the entries at the other challenge sites- fabulous inspiration from all!

To create this card:
1). Using the leaf image from Botanicals (retired Stampin’ Up!), stamp three of the same image with Versafine™ Onyx Black ink onto Very Vanilla cardstock, apply Clear Embossing Powder and heat set with the Heat Tool.  Once the embossing has cooled, watercolor the images using an AquaPainter™ and ink from Classic Ink Pads (SU!)- Crushed Curry, Pumpkin Pie and Cajun Craze.  Fussy-cut each of the leaves and set aside.

2). Ink the sentiment from Scripture Medley 3 (Verve Stamps) with Versafine™ Onyx Black ink onto Very Vanilla cardstock, apply Clear Embossing Powder and heat set with the Heat Tool.  Once cooled, die cut with the MFT Pierced Traditional Tag STAX Die.

3). Using the Big Shot™ with the Crafters Companion™ Ornate Lace Embossing Folder, emboss a piece of Very Vanilla cardstock.  Trim the panel to 4” x 5 ¼”, mount onto a piece of Very Vanilla cardstock and adhere to the white card base.

4). Mount the sentiment tag and leaves to the card front with dimensional foam.

5). Apply shimmer to the leaves with the Spectrum Noir™ Clear Glitter Pen and add a few pearls to the corner of the sentiment tag to finish off the card.

Stamp Sets:  Scripture Medley 3 (Verve Stamps), retired Botanicals (Stampin’ Up!)

Ink/Mediums: Versafine™ Onyx Black Ink, Classic Ink (SU!)- Cajun Craze Crushed Curry, Pumpkin Pie; Spectrum Noir™ Clear Glitter Pen

Cardstock/Paper: Very Vanilla, Extra Thick Whisper White

Accessories: Big Shot™, Ornate Lace (Crafters Companion™) Embossing Folder, MFT Pierced Traditional Tag STAX Dies, Embossing Buddy®, Heat Tool, Clear Embossing Powder,  Pearls

Thanks again for taking the time to stop by!  I hope I have inspired you today and that you will be able to join us for the #80“Autumn Love” Challenge at The Card Concept!

Friday, May 8, 2015

Farewell to Mr. Moose- A Color, Sketch and Sentimental Challenge


Hi Again Stampers! 


If you have not had a chance to do so, I hope you will find the time to visit the above sites- they have wonderful Design Team samples as well as inspiration from their galleries!

I decided to use another favorite soon-to-be retired stamp, Walk in the Wild- I love this moose and will miss seeing him in the new catalog!  Farewell, Mr. Moose- you may be retiring soon, but you are one stamp set that is definitely a "keeper" :-)

To create this card:

Not sure about my new camera- still trying to figure out the settings...
Ink the moose image with Stāz-On® Jet Black Ink and stamp onto Whisper White cardstock.

Color the image with an AquaPainter™ and the ink from Hello Honey, Baked Brown Sugar and Coastal Cabana Classic Ink Pads.  Use Stampin’ Write markers in the same colors to add more definition and color, spritzing with a bit of  water along the way to soften the marker edges (be careful not to get the paper too wet since it will start to “pill”).

Dry with the Heat Tool and cut the rectangular shape with the Big Shot™ and the My Favorite Things© (MFT) Stitched Rectangular Dies, mount onto a piece of Coastal Cabana cardstock and trim close to the edge.

Add the strip of 3/8” Hello Honey Stitched Satin Ribbon with the retired Antique Pewter Hodgepodge Hardware ribbon slide to the upper corner.

Use the Big Shot™ with the Honeycomb Textured Impressions™ Embossing  Folder to emboss a piece of Baked Brown Sugar cardstock (I had this piece already in my scraps since the reverse side was a “reject”  from another project- again, now you know all of my secrets :-)).

Trim the embossed layer and mount onto a piece of Coastal Cabana cardstock, trim and mount onto the Whisper White card base.

Use the Hexagon Punch to create the banners on the strips of Lullaby and Moonlight Designer Series Paper (DSP), adhere to scrap pieces of Coastal Cabana cardstock and use the Hexagon Punch to create the banner points on the Coastal Cabana layers. 

Stamp the Ornate Borders Sentiment from Our Daily Bread Designs (ODBD) with Stāz-On® Jet Black Ink onto a piece of Whisper White cardstock, trim and create the banner with the Hexagon Punch. Mount the sentiment onto the Hello Honey banner and adhere the banner to the card front.

Add the Lullaby DSP banner to the card front and mount the focal image using Stampin’ Dimensionals® to finish  off the card.

Stamps:  Walk in the Wild, Ornate Border Sentiments (ODBD)

Ink: Stāz-On® Jet Black Ink, Baked Brown Sugar, Coastal Cabana, Hello Honey Classic  Ink, Stampin’  Write Markers- Baked Brown Sugar, Coastal Cabana, Hello Honey

Paper: Whisper White, Baked Brown Sugar, Coastal Cabana, Lullaby and Moonlight DSP

Accessories: Big Shot™, Honeycomb Textured Impressions™ Embossing Folder, MFT Stitched Rectangle Dies, Hexagon Punch, 3/8” Hello Honey Stitched Satin Ribbon, retired Antique Pewter Hodgepodge  Hardware Ribbon Slide, AquaPainter™


Thanks again for visiting…I will be stamping this weekend and will share again soon!  Have a wonderful weekend, my friends!
Related Posts Plugin for WordPress, Blogger...