I wanted to share with you here another quick Mixed Media
card using the Eau de Parfum background stamp from Artistic Outpost along with ODBD Custom Dies (all available from Our
Daily Bread Designs) that I am sharing today on the AO blog as well :-)

 I just love the vintage
feel of the images in the Eau de Parfum background- the gorgeous flowers, the perfume bottle as
well as the accents of Paris- don’t you?
  I
decided to showcase the spotlighting technique for this card and incorporated the
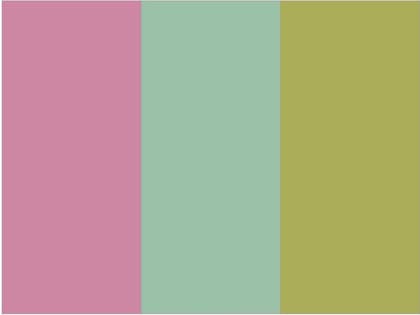
Splitcoaststampers CC629 Color Challenge along with the Addicted to Stamps and More #236 “Anything Goes” Challenge.
If you have not had a
chance to visit the challenge sites or The Artistic Outpost Blog / AO FB page yet,
I encourage you to do so- wonderful inspiration from all!
1). Stamp the Eau de Parfum background image using archival black ink onto white cardstock.
2). Die cut and
emboss the circle from the stamped image using the Pierced Circles Dies before
adding color to the die cut with a water brush along with water-based markers
and a water soluble graphite pencil (for shadows). Once the coloring has dried (I use a heat
tool to speed up the process), add details on the flowers with an extra fine
white paint pen and shimmer to the perfume bottle with a clear glitter pen.
3). Add a few shadows
with the water soluble graphite pencil using the water brush to the remainder
of the background before fussy cutting around the deckled edge of the image and
adding white highlights to the flower centers with an extra fine white paint
pen.
4). Die cut and
emboss a piece of white cardstock using the Pierced Rectangles Dies, mount onto
a piece of black cardstock, trim close to the edge and adhere the layered panel
onto the white card front. Add the fussy-cut background to the card
front.
5). Die cut and
emboss a piece of sugarplum cardstock with the Pierced Rectangles Dies, lightly
stamp the Eau de Parfum background on the edges (lining up with the initial
stamped background) using a watermark ink and mount onto the card front.
6). Line up and adhere
the spotlighted die cut circle with dimensional foam to finish off the card.
Thanks
again for taking the time to visit- hugs and I hope you have a wonderful week,
my friends!


1 comment:
Awesome card! Thanks for playing along with us at ATSM.
Post a Comment