
Hi
Friends!!
 I
am so excited to announce that I am the Guest Designer for the Retro RubberChallenge Blog #67 “Over the Rainbow” Challenge!
I
am so excited to announce that I am the Guest Designer for the Retro RubberChallenge Blog #67 “Over the Rainbow” Challenge!
A
few weeks ago, my card was chosen as their winner and one of the perks of
winning is that you are invited to be a Guest Designer on a future challenge-
what a wonderful honor!
I
decided to create a colorful simple Mixed Media card using a verse sentiment from the
current Our Daily Bread Designs Scripture 9 stamp set along with retired
Stampin’ Up! sets- Off the Grid, Stipple Butterfly and Notable Notions. All of these stamps are several years old and
I absolutely loved having a chance to play around with them again!
I
am also participating in the My Time To Craft #350 “In the Garden” Challenge
and the Word Art Wednesday #290-#291 “Anything Goes” Challenge.
If
you have not already had a chance to visit the above challenge sites, I hope
you will do so- they all have wonderful Design Teams as well as gorgeous inspiration
in their galleries.
To create
this card:
1). Ink
the Stipple Butterfly image with Versafine™ Onyx Black ink, stamp onto a piece
of white cardstock paper, apply clear embossing powder and heat set with the
Heat Tool.
 2). Using
Zig® Clean Real Color Markers along with an AquaPainter™, watercolor the
butterfly image and fussy-cut the image.
Add a few white highlights to the wings with the Sharpie® Extra Fine
White Paint Pen.
2). Using
Zig® Clean Real Color Markers along with an AquaPainter™, watercolor the
butterfly image and fussy-cut the image.
Add a few white highlights to the wings with the Sharpie® Extra Fine
White Paint Pen.
3). On a
piece of Strathmore™ Bristol Smooth Paper, use the same Zig® Clean Real Color
Markers, add a bit of color, spritz with water and dry with the Heat Tool.
Splash a bit of water onto the panel, let the water absorb before lifting with
a paper towel and heat with the Heat Tool.
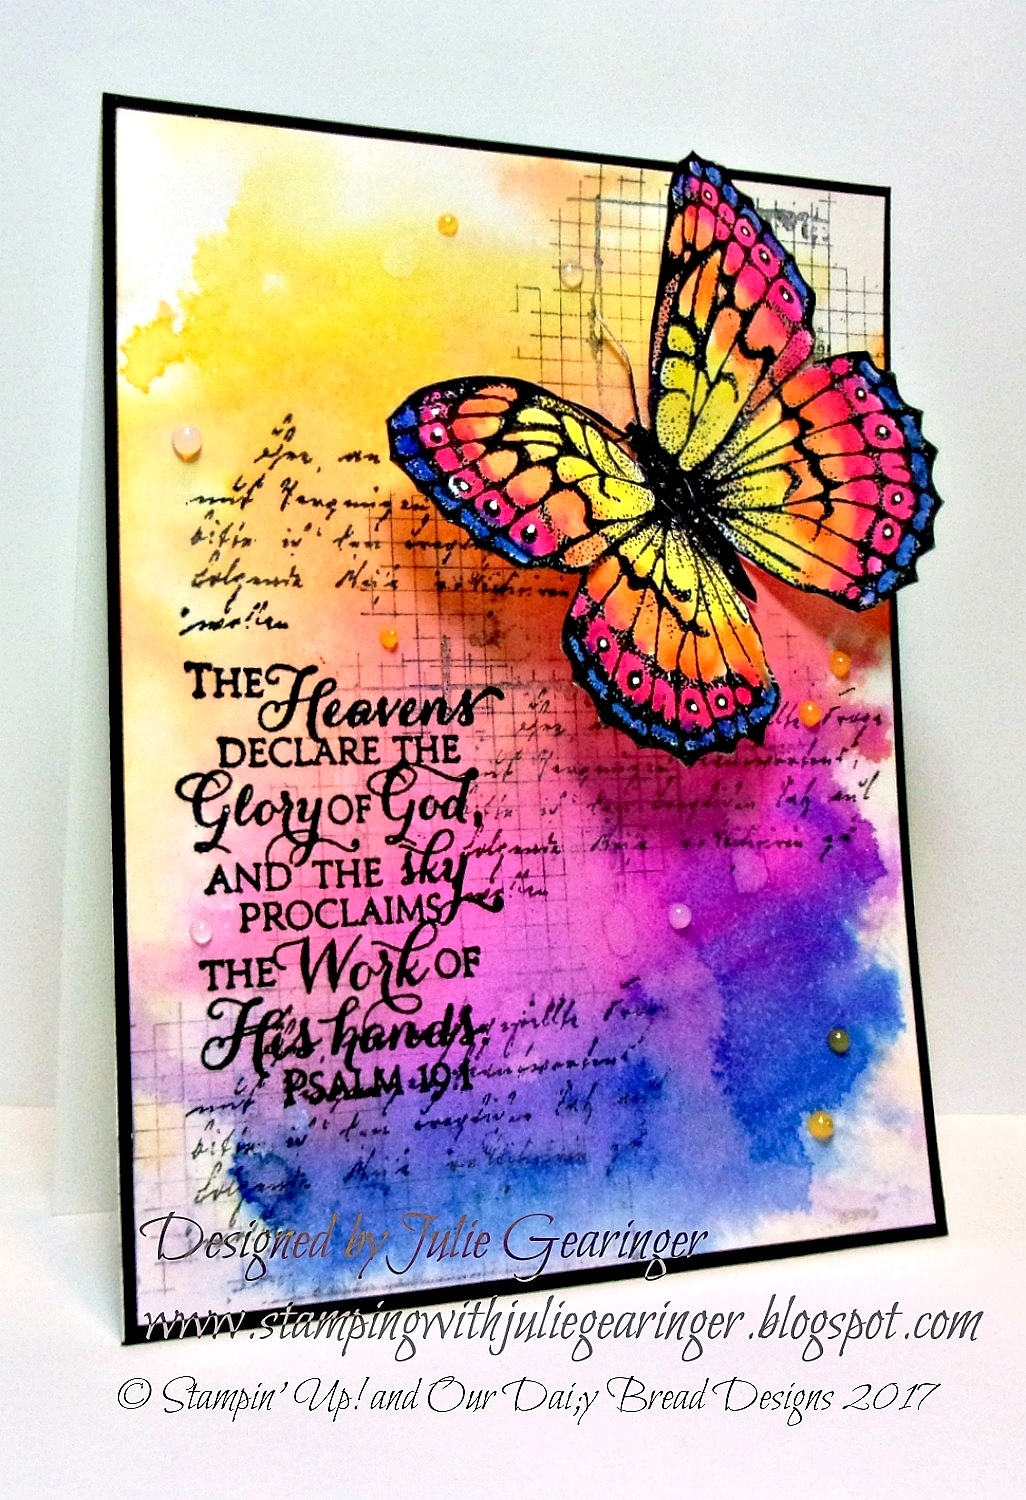 4). Trim
the panel, ink the retired Off the Grid background stamp with Hickory Smoke
Distress Ink over the background as well as the retired Notable Notions script
image.
4). Trim
the panel, ink the retired Off the Grid background stamp with Hickory Smoke
Distress Ink over the background as well as the retired Notable Notions script
image.
5). Stamp
the sentiment from Scripture Collection 9 with archival black ink and heat set
with the Heat Tool.
6). Trim
the panel and mount onto a piece of black cardstock, trim once more and mount
onto the white card base.
7). Mount
the fussy cut butterfly to the corner and add a few drops of Nuvo™ Rosewater
and Orange Marmalade Jewel Drops to finish off the card.
Stamp Sets: Scripture Collection 9 (Our Daily
Bread Designs); Stipple Butterfly, Off the Grid, Notable Notions (all retired
Stampin’ Up!)
Paper: Bristol
Smooth, Basic Black, Whisper White
Accessories: AquaPainter™, Heat Tool
Thanks
again for visiting- I hope you will find some time to pull out some of your
older stamps and join us at Retro Rubber Challenge Blog! Hugs and please stop
by again soon!


