Showing posts with label In Wilderness. Show all posts

Sunday, June 12, 2022

Praise the Lord - In Wilderness


Hi Friends!

This is the second card I designed using the retired In Wilderness stamp set from Stampin’ Up!  (see this post for my first card)
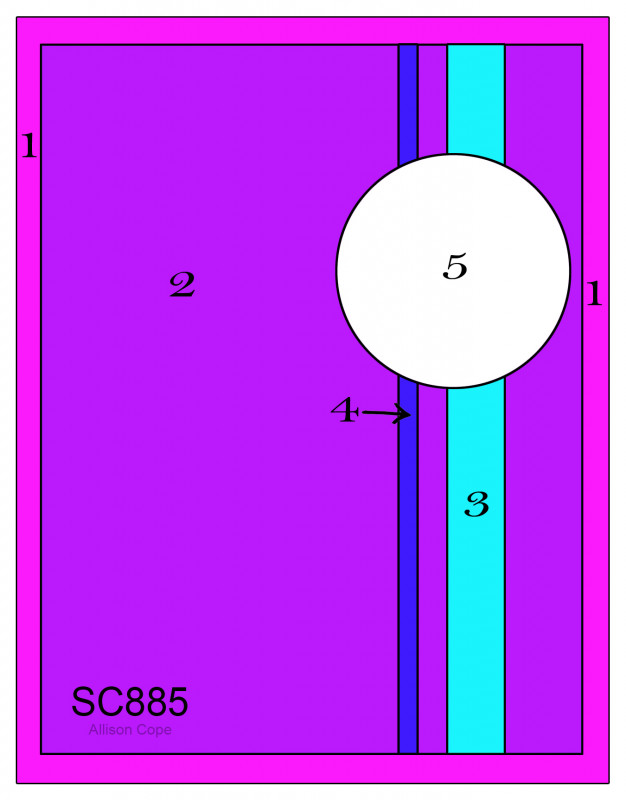
As I have mentioned in previous posts, I have a personal goal to create cards using stamps and supplies that I already own (and have not inked up in a while) as well as a card for each of the over 900+ Splitcoaststampers’ Sketch Challenges (I was able to incorporate Sketch #SC885 into the design of this card).   

I also enjoy participating with other online challenges and decided to incorporate the Retro Rubber Challenge Blog #184 Far Out! Challenge (I used Harvest Gold, Burnt Orange, and Brown) along with the WordArt Wednesday #547-#548 “Anything Goes” Challenge and the Try It On Tuesday “For the Man in Your Life” Challenge into the design.

The In Wilderness stamp set is several years old and I have not inked it up in years.  The scripture verse from Scripture Medley Five is also retired and older- I love being able to pair older sets together! 

I decided to use the eagle image as a memory of the many eagles that my hubby, Dave and I would see on our rural drives.  They are so majestic and we loved seeing them!

If you have not had a chance to visit the above challenge sites, I hope you will find time to do so- wonderful inspiration
from all!

To create this card:

De-static a piece of vanilla cardstock, stamp the eagle image with Versafine™ Onyx Black ink, apply clear embossing powder and heat set with a heat tool.


Once the embossing has cooled, color the image with water-based markers and oxide ink before die cutting with a circle die.  Use a fine point black marker to finish off the edge of the branch (I did not like it just ending without an end, lol!).

Die cut a larger circle from espresso cardstock with a stitched circle die.  Mount the colored eagle image onto the stitched circle die cut and set aside.

De-static the lower left-hand side of a panel of harvest gold designer paper (approx. 3 ¾” x 3”) with an embossing powder tool, stamp the sentiment with Versafine™ Onyx Black, apply clear embossing powder and heat set with a heat tool.

Distress the sides of the embossed sentiment panel and lightly mount onto a piece of vanilla cardstock to 5 ¼” x 4”.

Trim a piece of plaid designer paper to approx. 1 ½” x 3 ¾”, and two additional pieces of designer paper to 1” x 3 ¾”.

Distress the outer edges of all the designer panels before layering onto the vanilla background.

Use a zig-zag stitch to sew around all the edges and mount the entire panel onto a piece of espresso cardstock (approx. 4 ⅛” x 5 ⅜”).

Use a piercing tool to create holes for the brads and hardware at the top and bottom of the first vertical panel.

Knot the polished twine to the ends of the hardware and add to the card front with brads (the ends are adhered behind the eagle panel).

Adhere the entire panel onto a white card base.

Mount the layered eagle image onto the card front using dimensional foam (or chipboard) to finish off the card.

Stamp Sets:  In Wilderness (retired Stampin’ Up!), Scripture Medley Five (retired Verve Stamps)

Ink/Mediums:  Versafine™ Onyx Black, Tumbled Glass Distress Oxide, Stampin’ Write Markers- Chocolate Chip, Delightful Dijon, Gray Granite; .01 Pigma Micron Pen

Cardstock/Paper: Very Vanilla, Early Espresso; retired designer papers- Orchard Harvest, Misc others (Stampin’ Up!) and Authentique Thankful Collection

Accessories/Tools: Big Shot™, SU! Stitched Circles Layering Dies, Distressing Tool, Embossing Powder Tool, Clear Embossing Powder, Heat Tool, Antique Brass Hodgepodge Hardware, Polished Hemp Twine, Sewing Machine, White Thread

Thanks again for taking the time to visit- I am still working on my massive re-organization of my main living floor since my hubby went to be with the Lord. I am moving each room into a new area and creating a larger craft room, so I can get all of my supplies into one room (finally :-)). 

I am hoping to be able to create more cards again soon- hugs and God Bless!

TCC177 Make It Masculine - In Wilderness Buffalo


Hi Friends!

Welcome to the #177 Make It Masculine Challenge at The Card Concept! 

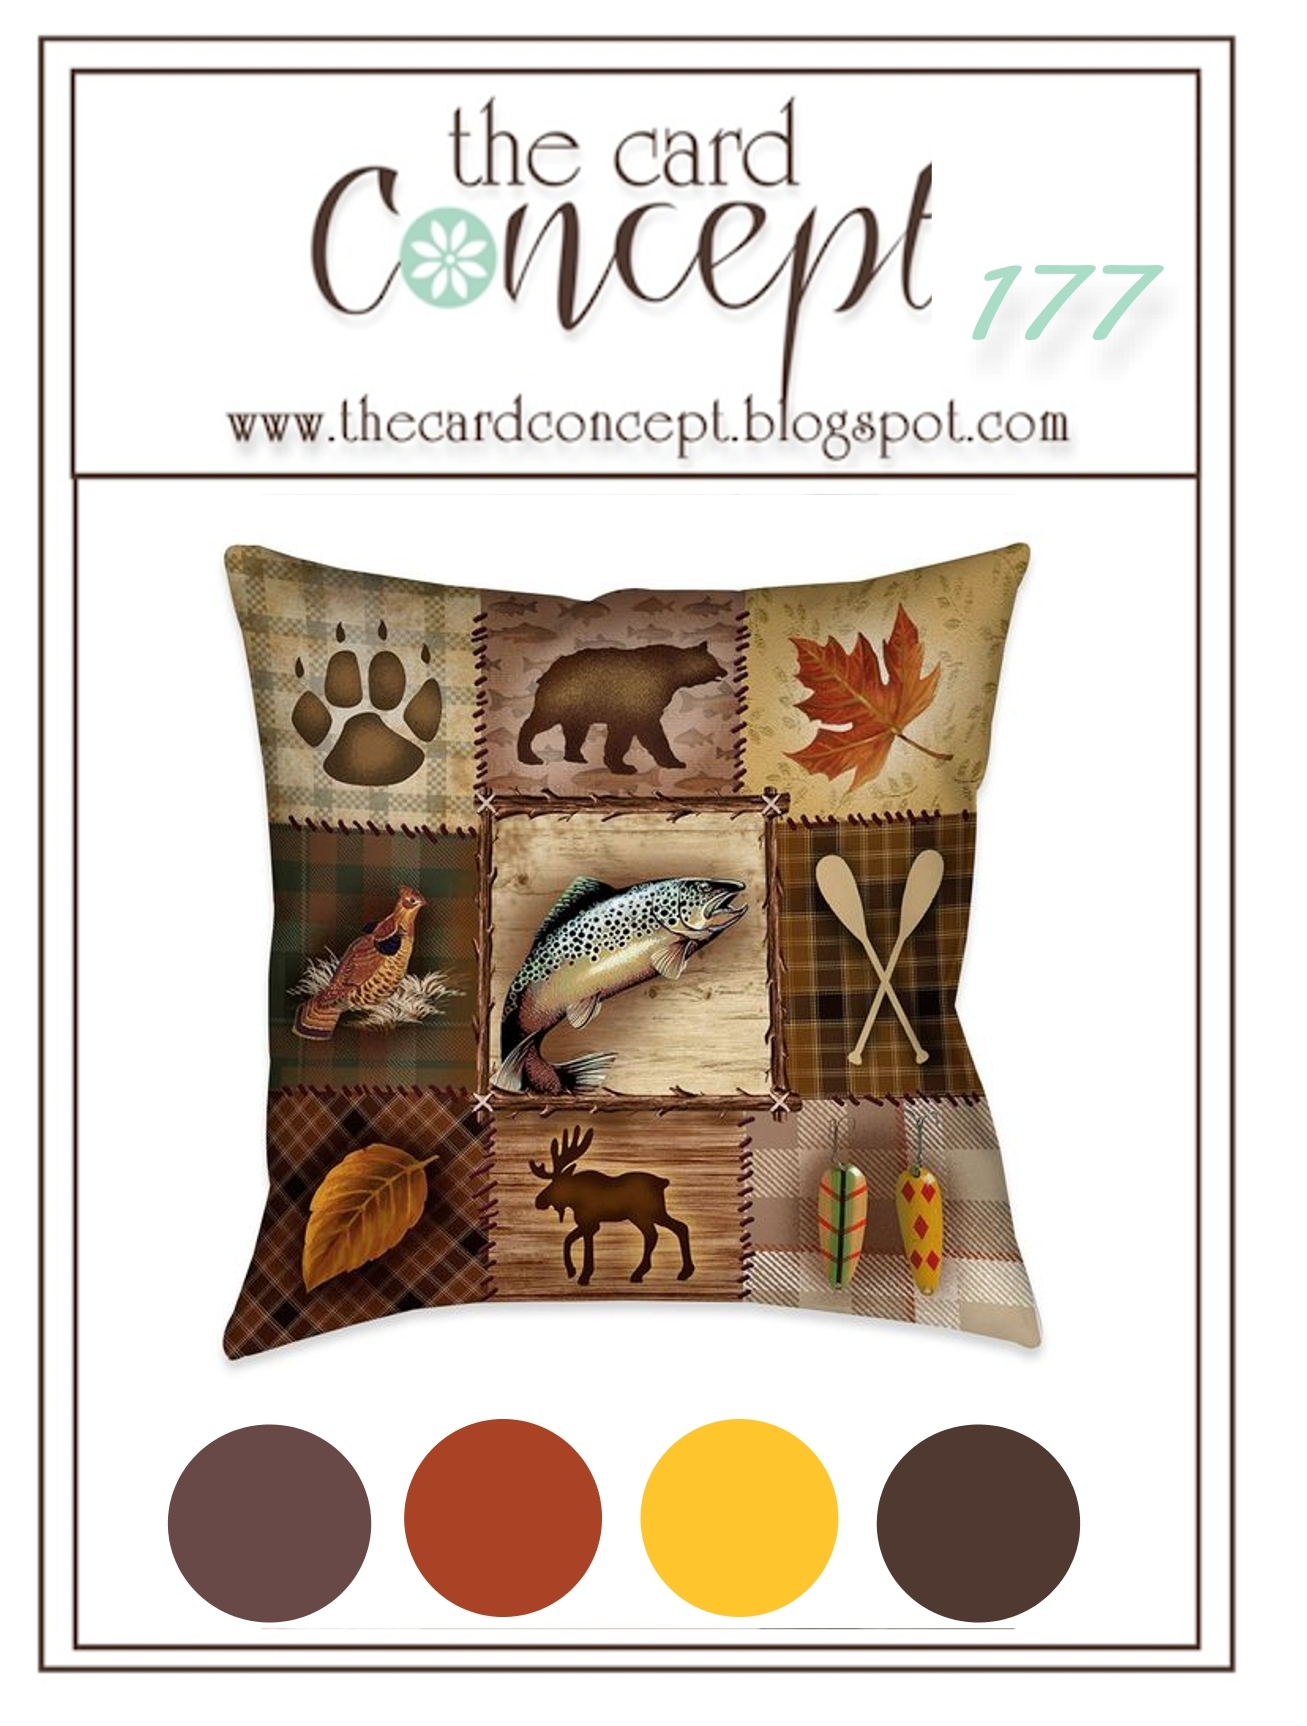
I was inspired by the wilderness images, the stitching between the squares on the pillow as well as the autumn colors in our inspiration photo to create a Vintage and Shabby/Mixed Media card using the retired Stampin’ Up! set, In Wilderness along with retired papers and embellishments.  

In fact, I was finally feeling a bit creative and created two different card designs and this is the first of the two.

As I have mentioned in previous posts, I have a personal goal to create cards using stamps and supplies that I already own (and have not inked up in a while) as well as a card for each of the over 900+ Splitcoaststampers’ Sketch Challenges (I was able to incorporate Sketch #SC882 into the design of this card).  

I also incorporated the Alphabet “E is forEmbossing- Wet or Dry” Challenge (this card has both types) and the Word Art Wednesday #547-#548 “Anything Goes” Challenge into the design.

If you have not had a chance to visit our Design Team/gallery at The Card Concept Challenge, or the other challenge sites,  I hope you will find time to do so- gorgeous inspiration from all!

To create this card:

De-static a piece of vanilla cardstock, stamp the buffalo image with Versafine™ Onyx Black ink, apply clear embossing powder and heat set with a heat tool.

Once the embossing has cooled, color the image with water-based markers and 
die cut with a stitched rectangle die.

Mount onto espresso cardstock, trim close to the edge.

Trim a piece of vanilla cardstock to 5 ¼” x 4”, mount onto a piece of 5 ½” x 4 ¼” espresso cardstock. 

Cut two pieces of designer paper for the background (approx. 3 ¾” x 2”), emboss with a quilt embossing folder, distress the edges, attach to background lightly with adhesive.

Distress the edges of a 2” x 3 ¾” strip of espresso designer paper, attach over the background lightly with adhesive and a zig-zag stitch around the edges.

Mount the background panel onto a 5 ½” x 4 ¼” white card base.

Mount the buffalo image onto the card front with dimensional foam (or chipboard). 

Heat emboss the sentiment using the same steps as the buffalo, trim the panel, mount onto espresso cardstock and adhere to the card front with dimensional foam.

Finish off the card by creating photo corners from espresso cardstock (I cut a square by hand, cut on the diagonal, then used scissors to create the little notches).

Stamp Sets:  In Wilderness (retired Stampin’ Up!)

Ink/Mediums:  Versafine™ Onyx Black, Tumbled Glass and Broken China Distress Oxide, Stampin’ Write Markers- Soft Suede, Gray Granite, Early Espresso, Gumball Green

Cardstock/Paper: Very Vanilla, Early Espresso; retired designer papers (Stampin’ Up!) and Authentique Thankful Collection

Accessories/Tools: Big Shot™, Quilt Top Embossing Folder (SU!), My Favorite Things Stitched Rectangle STAX, Sanding Block, Distressing Tool, Embossing Powder Tool, Clear Embossing Powder, Heat Tool,  Sage Twill Ribbon

Thanks so much for stopping by- I am slowly getting back to a point where I can start blogging again.  I apologize for not posting as often as I normally would, but I have been working on rearranging my entire home and still have many boxes to unpack and put away. 

It is my goal to try to find a “home” for everything and have different “zones” in my home (for ex: library/study, gift wrap station, Bible Journaling area, etc.).  Since I have been focused on this goal and in addition to mowing, trimming bushes and outside maintenance that my hubby used to do, I have not had a chance to create any cards. I miss being creative for sure!

I hope you have been inspired to join us with our #177 Make It Masculine Challenge at The Card Concept!

Thursday, October 25, 2012

CAS Masculine Birthday- Three in One!


Hi Stampers!          
I wanted to create a masculine CAS birthday card and decided to incorporate this week’s PP118 The Paper Players “Framed”CAS Challenge along with the Stampin’ Up! Only SUO56 "Animals" theme and the FMS58 Sketch at Freshly Made Sketches- a "trifecta" so to speak :-)


Again, if you have not visited these challenge sites, they provide wonderful inspiration each week and I hope that you have a chance to visit them and play along as well:-).

To create this card:

Stamp the wolf image using Early Espresso Classic ink onto Very Vanilla cardstock and punch out using the 1 3/8” Circle Punch.  Punch two other circles with the same punch from Night of Navy, overlap slightly and adhere behind the Very Vanilla focal image to produce a small “frame”.

Use the Big Shot™ with the Labels Collection Framelits™ and cut a piece of Early Espresso Core’dinations cardstock and Very Vanilla cardstock.  Cut the Very Vanilla layer in half and trim off the points (this piece will layer behind the Early Espresso layer).

Use the Big Shot™ with the Woodgrain Textured Impressions™ Embossing Folder to emboss the Early Espresso die cut framelit™ (created in the step above) and a piece of Comfort Café DSP.  Lightly sand both pieces to expose the core of the cardstock.

The Night of Navy layer was created from a previously embossed piece (using the retired Snow Burst EF)- love those scraps!! :-)

Add the layers, the brads on the frame, the bit of knotted Hemp and the sentiment banners to finish off the card.

Stamp Sets:  In Wilderness, Birthday Greetings (both retired)

Ink: Early Espresso

Paper:  Very Vanilla, Night of Navy, Early Espresso Core’dinations, Comfort Café

Accessories:  Big Shot™, Woodgrain Textured Impressions™ Embossing Folders, Labels Collection Framelits™ , Sanding Block,  retired products- Snow Burst Textured Impressions™ Embossing Folder, Antique Copper Brads, Hemp Twine

Thanks again for stopping by- I hope you like this simple masculine card.  I might save this for my husband- he loves nature and wolves:-)

Have a great week creating and stamping!

Thursday, April 26, 2012

Antique Buffalo Birthday- Faux Burning


Hi Stampers! 

Boy, it has been another busy week at work but I wanted to take a moment to share a card that I created for this week’s PP92 Paper Player’sSketch Challenge.  I love this sketch- it has a clean and simple layout yet you can "dress it up" if you like as well.  If you have not already visited their site, check out all of the Design Team entries as well as the other submissions (they are amazing!)…

I have had this stamp set on my wish list for a while and just received it (it will be retiring).  I wanted to create a very aged, antique looking card with the buffalo image- I know it may not be your style, but I find taking pristine white (or in this case vanilla) cardstock and aging it is very therapeutic :-)  

To create this card:

De-static a piece of Very Vanilla cardstock with the Embossing Buddy® and ink the buffalo with Versamark™ ink, apply Stampin’ Emboss® Brown Embossing Powder and heat with the Heat Tool.  Once cooled, color with the Aqua Painter and Early Espresso ink (directly from the pad). 

Tear the edges by hand and use Sponge Daubers to apply Crumb Cake, Soft Suede and Early Espresso ink until you reach the desired "antique" or "faux burned" effect.  Use the Color Spritzer Tool with the Early Espresso Stampin’ Write marker to further distress the image.

Mount onto a piece of Well Worn DSP (embossed with the Big Shot™ and Herringbone Textured Impressions™ Embossing Folder).  Adhere this entire panel onto Very Vanilla (again, sponging the edges to “antique”) and attach the panel onto another piece of the Well Worn DSP (this piece looks like a barn panel and has been embossed with the Square Lattice Textured Impressions™ folder).

Tear the layers of Very Vanilla cardstock and crumple the paper by hand.  Apply the Crumb Cake, Soft Suede and Early Espresso ink in the same manner as above until you achieve the look that you desire. Use the Crimper Tool to achieve further distressing and mount onto the buffalo panel.

Add the embossed strip of Chocolate Chip cardstock with a scrap piece of the Well Worn DSP (same as the panel behind the focal image).  Add the Hemp Twine, Antique Brad and tag detail.  Adhere all onto an embossed panel of Chocolate Chip to finish off the card.

Stamp Sets:  In Wilderness, Petite Pairs

 Ink: Versamark™, Crumb Cake, Soft Suede, Early Espresso

Paper:  Very Vanilla, Chocolate Chip, Well Worn DSP (retiring)

Accessories:  Big Shot™, Herringbone and Square Lattice Textured Impressions™ Embossing Folder, Sponge Daubers, Color Spritzer Tool, Crimper Tool,  Heat Tool, Stampin’ Emboss® Brown Embossing Powder (retired), Aqua Painter, XL and Large Tag Punch, Antique Brad , Hemp Twine (retiring)

Thanks again for stopping by!  I hope you like this card- I never seem to have enough masculine cards on hand :-).  Enjoy the remainder of the week and have fun stamping and creating- God Bless! 
Related Posts Plugin for WordPress, Blogger...