Showing posts with label Alphabet Challenge. Show all posts

Wednesday, February 12, 2025

TCC214 Love Is In The Air


Hi Friends!

It’s time for our February #214 “Valentine Fun” challenge at The Card Concept!

I know that not everyone mails Valentine cards, but the theme of love is one that can be used year round for Anniversary, Birthday, Friendship and other cards, for sure!

I was inspired by the vintage style of the photo along with the light pink roses, hearts and gold bird cage for my Shabby and Vintage Mixed Media card! 

I have a personal goal to ink up stamps that have been in my stash in a while as well as use my massive stash of dies, lace, ribbon and other supplies. 

For those of you who follow my blog, you know that I do enjoy playing along with other online challenges and will be linking this card to Alphabet Challenge Blog “V is for Vintage” and the Just Us Girls #761 “Die Week- Hearts” Challenge.


I hope you have stopped by The Card Concept to see how the rest of the Design Team were inspired as well as check out the Alphabet Challenge and Just Us Girls galleries to see their fabulous creations!

To create this card:

Die cut the heart from a piece of cream cardstock. 

Die cut another heart from cream cardstock (to layer behind the initial heart die cut in the above set).  Adhere to the back of the original heart die cut (this will give your heart more strength and dimension).


Ink the Christ the Lord is Risen Today background stamp with Brushed Corduroy and Ground Espresso Distress Oxide ink , lay one of the pieces from the above steps onto the stamp image and randomly press the cardstock onto the stamp.

Trim the cream stamped background panel to approx. 3 ¾” x 5” and distress the edges with a distressing tool (or the side of scissors) and mount onto a piece of kraft cardstock (trim to approx. 4” x 5 ¼”) on a slight angle.

Adhere the heart die cut back into the opening that remained from the initial die cutting process.


Die cut several of the flower images from light pink cardstock and mount onto the heart.

Add a piece of ivory crochet lace to the front of the background panel and adhere a strip of chocolate grosgrain ribbon (wrapping the ends of the ribbon behind the panel).

Add a piece of pleated light pink ribbon onto the background panel.

Mount the entire background panel onto a piece of light pink cardstock.

Use a stencil brush with Brushed Corduroy and Ground Espresso Distress Oxide ink over the edges to distress both panels and mount the entire background panel to a kraft card base.

De-static a piece of cream cardstock with an embossing powder tool, ink the verse sentiment from God Verses 2 with Versamark ink, stamp onto the prepared paper, apply gold embossing powder and heat set with a heat tool.

Once the embossing has cooled, die cut the image with a stitched oval die (also die cut another oval from kraft cardstock to layer behind the sentiment oval).

Mount the sentiment onto the front of the card with dimensional foam.

Finish off the card by adhering pearls to the flower centers.  

Stamp Sets: Christ the Lord Is Risen Today, God Verses 2 (Divinity Designs, LLC)

Inks/Mediums: Versamark, Tim Holtz Distress Oxide- Brushed Corduroy, Ground Espresso

Cardstock/Paper: Cream and Kraft (Hobby Lobby- Paper Studio); Blushing Bride (Stampin’ Up!)

Accessories/Tools: Gemini, Jr., Bloomin’ Hearts Dies (retired Stampin’ Up!) MFT Stitched Oval STAX, Embossing Powder Tool, Gold Embossing Powder, Heat Tool, 3/8” Chocolate Grosgrain Ribbon (from my stash), 3/8” Pleated Blushing Bride Ribbon (retired SU!), .75” Venise Lace- Lucia- Ivory, Pearls

Thanks again for taking the time to stop by! I hope you are inspired to create a card and join us for our #214 Valentine Fun Challenge at The Card Concept!  The deadline to play along is Monday, March 10th at noon EDT.  

Saturday, June 29, 2024

Proclaim Liberty Eagle


Hi Friends!

As July 4th approaches, I am sharing another card designed using the brand new release stamp set, Patriotic Background along with The American Eagle Bundle (all from Stamp Simply)


This card was very easy to create (once the coloring was finished).  It is also relatively flat for mailing and would be perfect for making multiples.


To create this card:

De-static two pieces of white cardstock with an embossing powder tool, ink the Patriotic Background stamp using Versafine Black Onyx ink and stamp onto one of the panels and repeat the same process with the eagle image from The American Eagle Bundle on the other panel. .

Apply clear embossing powder to both panels and heat set with a heat tool.

Once the embossing has cooled, color the background and eagle image with water-based markers.

Use a gold metallic paint pen to fill in around the shield and stars.

Stamp the “Proclaim Liberty” sentiment from the Patriotic Background using Versafine Black Onyx ink . 


Apply clear embossing powder and heat set with a heat tool.

Once you are satisfied with the coloring, trim close to the edge of the background perimeter and layer onto a piece of burgundy cardstock.

Trim close to the edge and mount onto a white card base.

Die cut the eagle with the coordinating die (also die cut a second eagle image to layer behind the colored image).

Mount the eagle onto the card front with dimensional foam to finish off the card.

I enjoy playing along with online challenges and will be participating with the Alphabet “G is for Gentlemen (Masculine) Challenge”, the Double ‘D’ “Reach for the STARS” Challenge and the Word Art Wednesday #653-#654 “Anything Goes” Challenge

If you have not had a chance to check out the rest of my Sister Design Team cards on the Stamp Simply blog, or the above challenge sites yet, I hope you take the time to do so- fabulous inspiration from all!

Stamp Sets: Patriotic Background, The American Eagle Bundle (Stamp Simply)

Ink/Mediums: Versafine Black Onyx, Stampin’ Write Markers- Bravo Burgundy, Raspberry Ripple, Night of Navy; Gold Metallic Paint Pen

Cardstock/Paper: White, Bravo Burgundy

Accessories/Tools: Gemini, Jr., Stamp Simply Steel Dies- The American Eagle Bundle, Embossing Powder Tool, Heat Tool


Don’t forget to stop by and check out the current specials at Stamp Simply!

Thanks again for visiting and I hope you have a blessed week! 

Saturday, September 10, 2022

I Will Give You Shepherds


Hi Friends!

I designed this fall Pastor Appreciation card using Give Thanks Bundle and the Pastor & Ministry Appreciation Sentiments stamp set plus other supplies from Stamp Simply.

I love all of the fall colors here in the Northeast and especially love the change of the seasons in this area.  I wanted to participate with a few online challenges and will be linking this card to the following challenges: 

Alphabet Challenge “L is for Leaves”

Hand Stamped Sentiments  #HSSSIC397  Inspiration Challenge- I was inspired by the fall scene

Simon Wednesday “Stamp It” Challenge- the leaves and sentiment are stamped on this card

Word Art Wednesday #559-#560 “Anything Goes” Challenge

If you have not already had a chance to do so, I hope you visit the Stamp Simply blog to see all of the inspiration from the rest of the SS Design Team as well as the other challenge galleries- gorgeous galleries from all!

To create this card:

De-static the top right hand area of a 4” x 5 ¼” piece of the Craft Consortium Brick Textures 6x6 paper pad with an embossing powder tool, stamp the verse from Pastor & Ministry Appreciation Stamp Set with Versafine Onyx Black ink, apply clear embossing powder and heat set with a heat tool.


Distress the edges, mount onto a piece of tangerine cardstock and trim close to the edge.

Add a strip of rust seam binding, wrapping the ends behind the panel. 

Add three strips of Natural Burlap String, wrapping the ends behind the panel and mount onto a piece of white cardstock (trim close to the edge).

Add the layered panel to a piece of espresso cardstock and mount onto a white card base.

Ink the leaf/acorn image from the Give Thanks Bundle with Versafine Onyx Black ink, stamp onto a piece of white cardstock,  apply clear embossing powder and heat set with a heat tool.  Repeat this process for the second leaf image.


Once the embossing has cooled, watercolor with water-based markers and die cut with the coordinating die (also die cut several more leaves from white cardstock to layer behind the colored images to create a thicker layer).

Adhere the leaves to the card front using dimensional foam to finish off the card.


Stamp Sets: Give Thanks Bundle, Pastor & Ministry Appreciation Scripture Sentiments 

Ink/Mediums: Versafine Onyx Black, Stampin’ Write Markers- Cajun Craze, Cherry Cobbler, Tangerine Tango

Cardstock/Paper:  White, Espresso, Tangerine; Craft Consortium Brick Textures 6x6 Paper Pad


Accessories/Tools: Gemini, Jr., Give Thanks Die, Embossing Powder Tool, Clear Embossing Powder, Heat Tool, May Arts Burlap String- 400 yd spool- Natural, Seam Binding Sampler- Patina- 30 yards


Also, check out the new Fall Release at Stamp Simply!!

Thanks again for taking the time to visit- I hope I have inspired you to create a few fall cards!  


Sunday, June 12, 2022

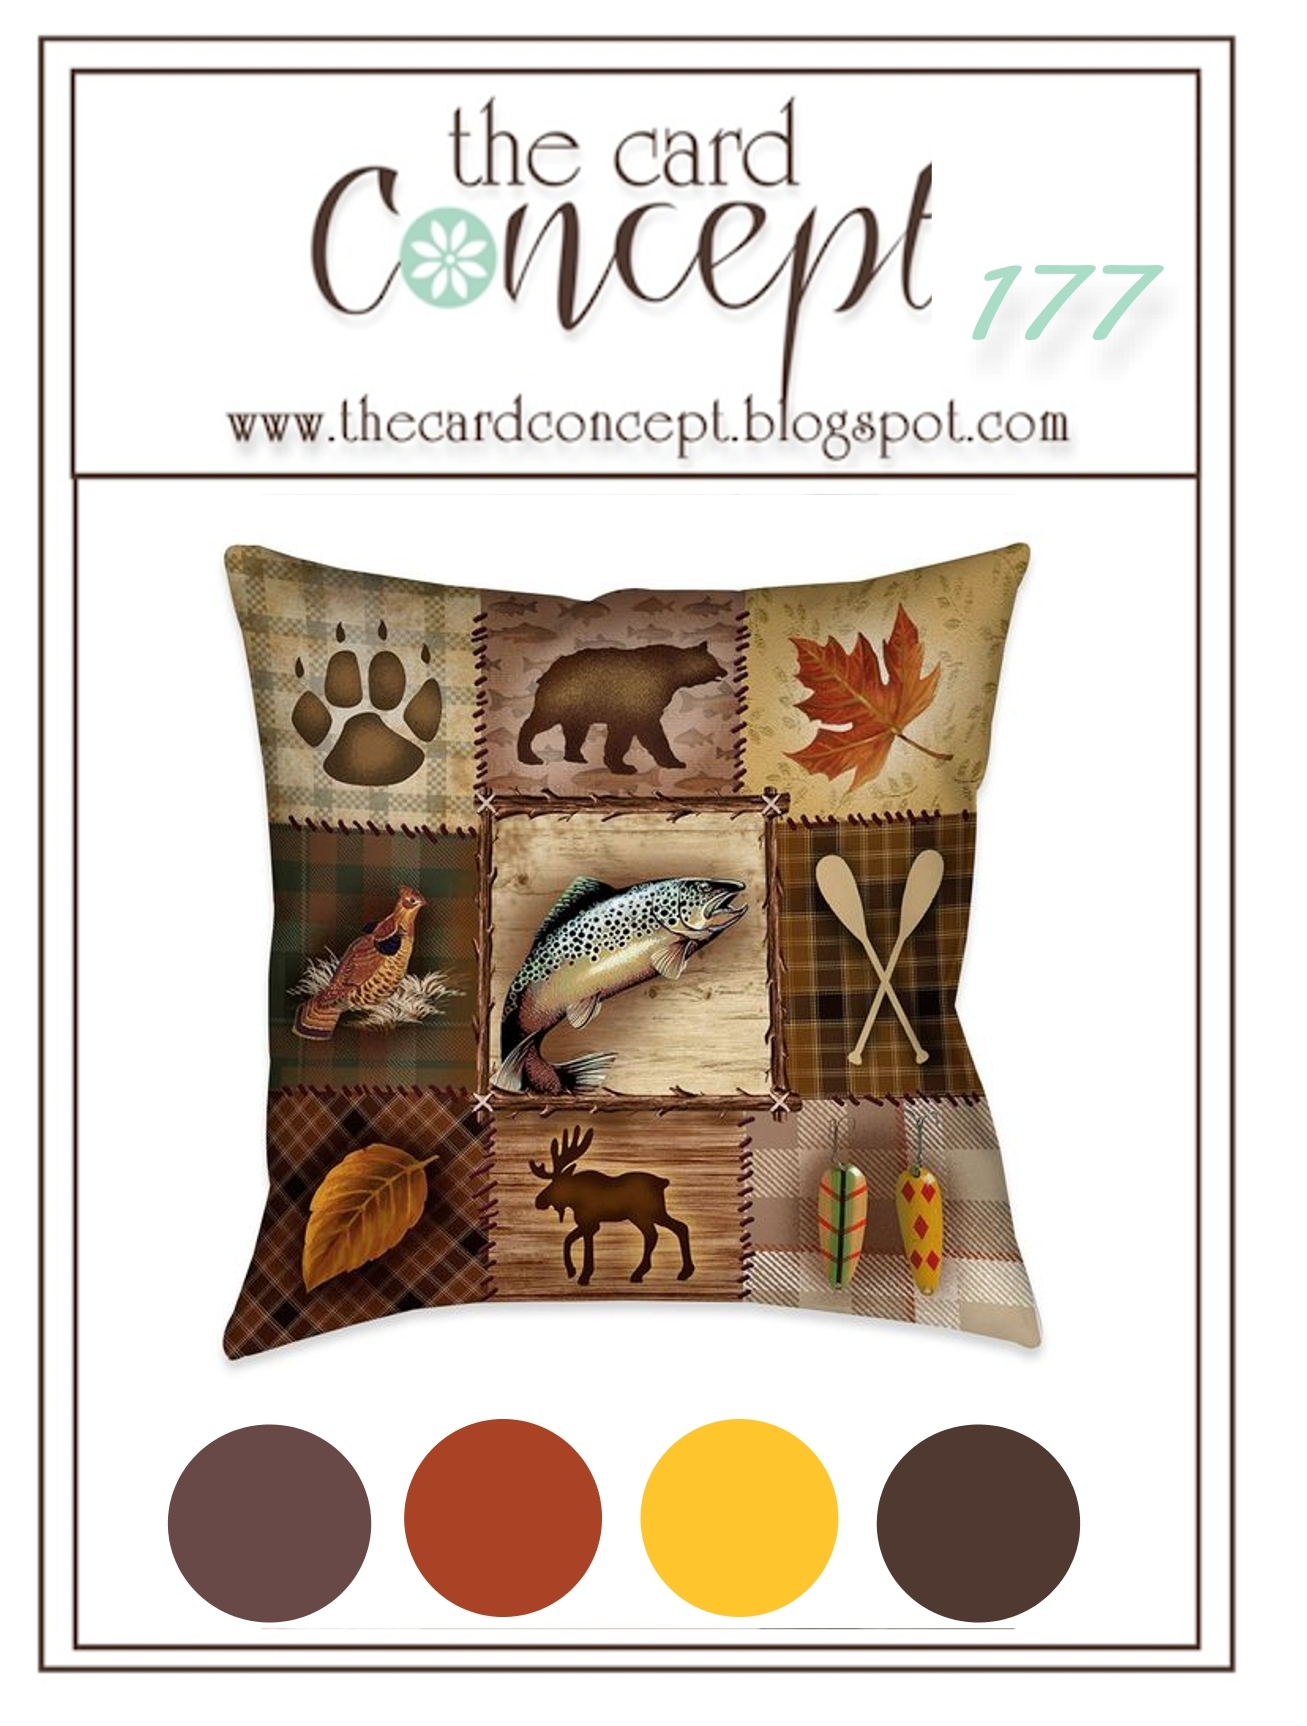
TCC177 Make It Masculine - In Wilderness Buffalo


Hi Friends!

Welcome to the #177 Make It Masculine Challenge at The Card Concept! 

I was inspired by the wilderness images, the stitching between the squares on the pillow as well as the autumn colors in our inspiration photo to create a Vintage and Shabby/Mixed Media card using the retired Stampin’ Up! set, In Wilderness along with retired papers and embellishments.  

In fact, I was finally feeling a bit creative and created two different card designs and this is the first of the two.

As I have mentioned in previous posts, I have a personal goal to create cards using stamps and supplies that I already own (and have not inked up in a while) as well as a card for each of the over 900+ Splitcoaststampers’ Sketch Challenges (I was able to incorporate Sketch #SC882 into the design of this card).  

I also incorporated the Alphabet “E is forEmbossing- Wet or Dry” Challenge (this card has both types) and the Word Art Wednesday #547-#548 “Anything Goes” Challenge into the design.

If you have not had a chance to visit our Design Team/gallery at The Card Concept Challenge, or the other challenge sites,  I hope you will find time to do so- gorgeous inspiration from all!

To create this card:

De-static a piece of vanilla cardstock, stamp the buffalo image with Versafine™ Onyx Black ink, apply clear embossing powder and heat set with a heat tool.

Once the embossing has cooled, color the image with water-based markers and 
die cut with a stitched rectangle die.

Mount onto espresso cardstock, trim close to the edge.

Trim a piece of vanilla cardstock to 5 ¼” x 4”, mount onto a piece of 5 ½” x 4 ¼” espresso cardstock. 

Cut two pieces of designer paper for the background (approx. 3 ¾” x 2”), emboss with a quilt embossing folder, distress the edges, attach to background lightly with adhesive.

Distress the edges of a 2” x 3 ¾” strip of espresso designer paper, attach over the background lightly with adhesive and a zig-zag stitch around the edges.

Mount the background panel onto a 5 ½” x 4 ¼” white card base.

Mount the buffalo image onto the card front with dimensional foam (or chipboard). 

Heat emboss the sentiment using the same steps as the buffalo, trim the panel, mount onto espresso cardstock and adhere to the card front with dimensional foam.

Finish off the card by creating photo corners from espresso cardstock (I cut a square by hand, cut on the diagonal, then used scissors to create the little notches).

Stamp Sets:  In Wilderness (retired Stampin’ Up!)

Ink/Mediums:  Versafine™ Onyx Black, Tumbled Glass and Broken China Distress Oxide, Stampin’ Write Markers- Soft Suede, Gray Granite, Early Espresso, Gumball Green

Cardstock/Paper: Very Vanilla, Early Espresso; retired designer papers (Stampin’ Up!) and Authentique Thankful Collection

Accessories/Tools: Big Shot™, Quilt Top Embossing Folder (SU!), My Favorite Things Stitched Rectangle STAX, Sanding Block, Distressing Tool, Embossing Powder Tool, Clear Embossing Powder, Heat Tool,  Sage Twill Ribbon

Thanks so much for stopping by- I am slowly getting back to a point where I can start blogging again.  I apologize for not posting as often as I normally would, but I have been working on rearranging my entire home and still have many boxes to unpack and put away. 

It is my goal to try to find a “home” for everything and have different “zones” in my home (for ex: library/study, gift wrap station, Bible Journaling area, etc.).  Since I have been focused on this goal and in addition to mowing, trimming bushes and outside maintenance that my hubby used to do, I have not had a chance to create any cards. I miss being creative for sure!

I hope you have been inspired to join us with our #177 Make It Masculine Challenge at The Card Concept!

Saturday, November 13, 2021

Glory to God in the Highest


Hi Friends!

Today I am sharing a quick Christmas card designed with the new Studio Light Sending Joy 6x6 paper pad, the Christmas Peace  stamp set and other items from Stamp Simply.


I love the new Sending Joy paper pad- so many gorgeous patterns that make it easy to create multiple cards by just adding a sentiment along with a few other details (plus relatively flat for mailing)!

Many of you who follow my blog, know that I enjoy participating with online challenges! I will be linking this card to the Tic-Tac-Toe #139 Challenge (bottom row across- Holiday, Silver or Gold, Patterned Paper), the Alphabet “P is for Patterned Paper” Challenge and the Word Art Wednesday #517-#518 “Anything Goes” Challenge.

If you have not had a chance to visit the Stamp Simply blog or the other challenge sites yet, I encourage you to do so- gorgeous inspiration from all!

To create this card:

Trim a piece of the Sending Joy 6x6 designer paper to approx. 3 ¾” x 5”. 

De-static the upper area of the panel with an embossing powder tool, ink the sentiment from the Christmas Peace  stamp set with Versamark ink, apply gold embossing powder and heat set with a heat tool.


Use a distressing tool (or the edge of your scissors) to lightly distress the edges.

Die cut a piece of white cardstock with the Tim Holtz Crochet Dies, add to the card front.   


Adhere a strip of sage twill ribbon over the top of the crochet die cut, wrapping the ends behind the panel.

Mount the panel onto dark green cardstock, trim and mount onto a white card base.


Finish off the card by adding shimmer to the bells with a clear glitter marker.


Stamps:  Christmas Peace (Stamp Simply)

Ink/Mediums: Versamark™, Zig Wink of Stella Brush- Clear Glitter Marker

Cardstock/Paper: White, Dark Green; Studio Light Sending Joy 6x6 Paper Pad

Accessories/Tools: Gemini, Jr.™, Sizzix Thinlits Dies by Tim Holtz- Crochet, Embossing Powder Tool, Gold Embossing Powder, Heat Tool, May Arts 5/8” Twill- 30 Yard Spool- Sage

Thanks again for taking the time to visit- I hope I have inspired you to create something this week! 

Saturday, May 1, 2021

Wise as an Owl- Trust in the Lord


Hi Friends!

Today I am sharing a card that is being featured on the Stamp Simply blog using the Amy Design Amazing Owls  6x6 paper pad along with stamps, dies, and other supplies (all available at The Stamp Simply Ribbon Store). 


In addition to gorgeous owls and feathers, the
Amazing Owls paper pad has some amazing landscapes that are perfect for almost any occasion.  Just add a sentiment and your card is ready to go!

I enjoy participating with online challenges and will be adding this card to the Alphabet Challenge “B is for Birds” and the Simon Wednesday “Anything Goes” Challenge.

If you have not had a chance to visit the Stamp Simply blog or the other challenge sites yet, I encourage you to do so- gorgeous inspiration from all!

To create this card:


Trim the piece of owl paper from the Amazing Owls 6x6 paper pad, mount onto a piece of white cardstock, trim, and mount onto a piece of black cardstock.

Add a strip of moss seam binding, wrapping the ends to behind the panel and mount the entire background onto a white card base.

De-static a piece of white cardstock with an embossing powder tool, stamp the verse sentiment from Words of Encouragement stamp set using a pigment black ink, apply clear embossing powder and heat set with a heat tool.


Die cut the sentiment with the medium sized die from the Tim Holtz Tag Collection Dies (die cut two additional tags from white cardstock to layer behind the sentiment tag).

Add an antique eyelet (this is optional- I have so many eyelets in my stash, lol!) and loop a piece of moss seam binding.  

Mount the tag to the card front using dimensional foam (or chipboard).

Add the strip of pearl centered lace to finish off the card.


Stamp Sets: Words of Encouragement (Stamp Simply)

Ink/Mediums: Versafine™ Onyx Black

Cardstock/Paper:  White, Black, Amy Design Amazing Owls 6x6 Paper Pad

Accessories/Tools: Gemini, Jr., Tim Holtz Tag Collection, EK Success Powder Tool Applicator, Ranger Super Fine Embossing Powder- Clear, May Arts 5/8” Lace w/Pearl Center- 3 yd bundle, Seam Binding- Moss- 5 yd bundle, Pewter Eyelet

Thanks again for taking the time to visit- I hope you have a fabulous weekend!

Related Posts Plugin for WordPress, Blogger...