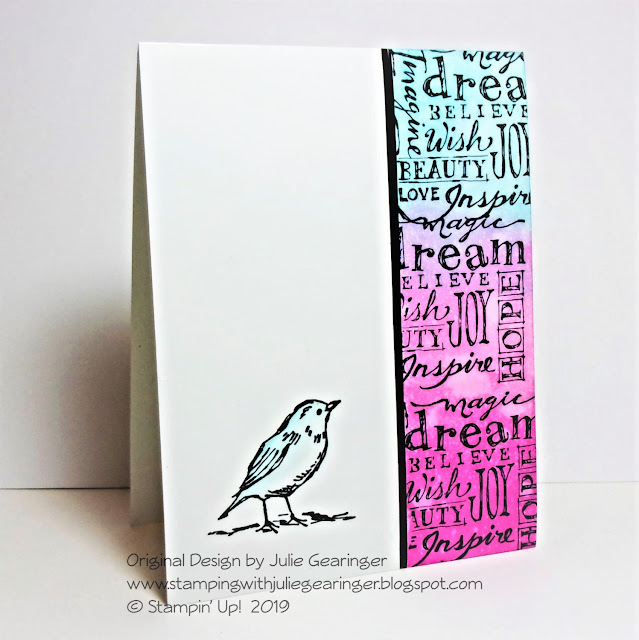
I decided to create another card using my retired stamp sets and this
card was designed using the floral image from Best of SAB along with a verse
sentiment from the current stamp set, Words of Encouragement from Stamp Simply.
I
wanted to participate with several online challenges and will be linking to the
Inspire.Create.Challenges #50 Sketch Challenge, the Word Art Wednesday #402-#403“Anything Goes” Challenge and the TGIF Challenge #227 “Embossing” Challenge.
If
you have not had a chance to stop by the challenge sites, I hope you will find
the time to do so- gorgeous galleries and inspiration from all!
 I
heat embossed the floral image as well as the sentiment onto white cardstock, die
cut the sentiment panel and lightly stenciled tumbled glass oxide ink onto the panel.
I
used water-based markers to watercolor the floral image and added shimmer with
a glitter pen along with white highlights using an extra fine white paint pen. The image was trimmed and mounted onto black
cardstock and the card was finished with a strip of designer paper.
Stamp
Sets: Best of Sale-A-Bration (retired Stampin’ Up!), Words of Encouragement
(Stamp Simply)
Ink/Mediums:
Versafine™ Onyx Black, Tim Holtz® Tumbled Glass Distress Oxide, Stampin’
Write Markers- Pool Party, Bermuda Bay, Pink Pirouette, Blushing Bride, Sweet
Sugarplum, Wild Wasabi, Pear Pizzazz, Early Espresso, Soft Suede; Spectrum Noir™
Clear Glitter Pen, Sharpie® Extra Fine White Paint Pen
Cardstock/Designer
Paper: Whisper White, Basic Black, retired Fresh Prints
DSP (all Stampin’ Up!)
Accessories: Big
Shot™, MFT Stitched Rectangle A2 STAX Set 1, Embossing Buddy®, Clear Powder, Heat
Tool, MFT Heartwood Designer Stencil
Thanks again for taking
the time to visit- hugs and I hope you will stop by again soon!


