Showing posts with label Quilt. Show all posts

Wednesday, February 15, 2023

TCC189 Cozy Comfort


Hi Friends!

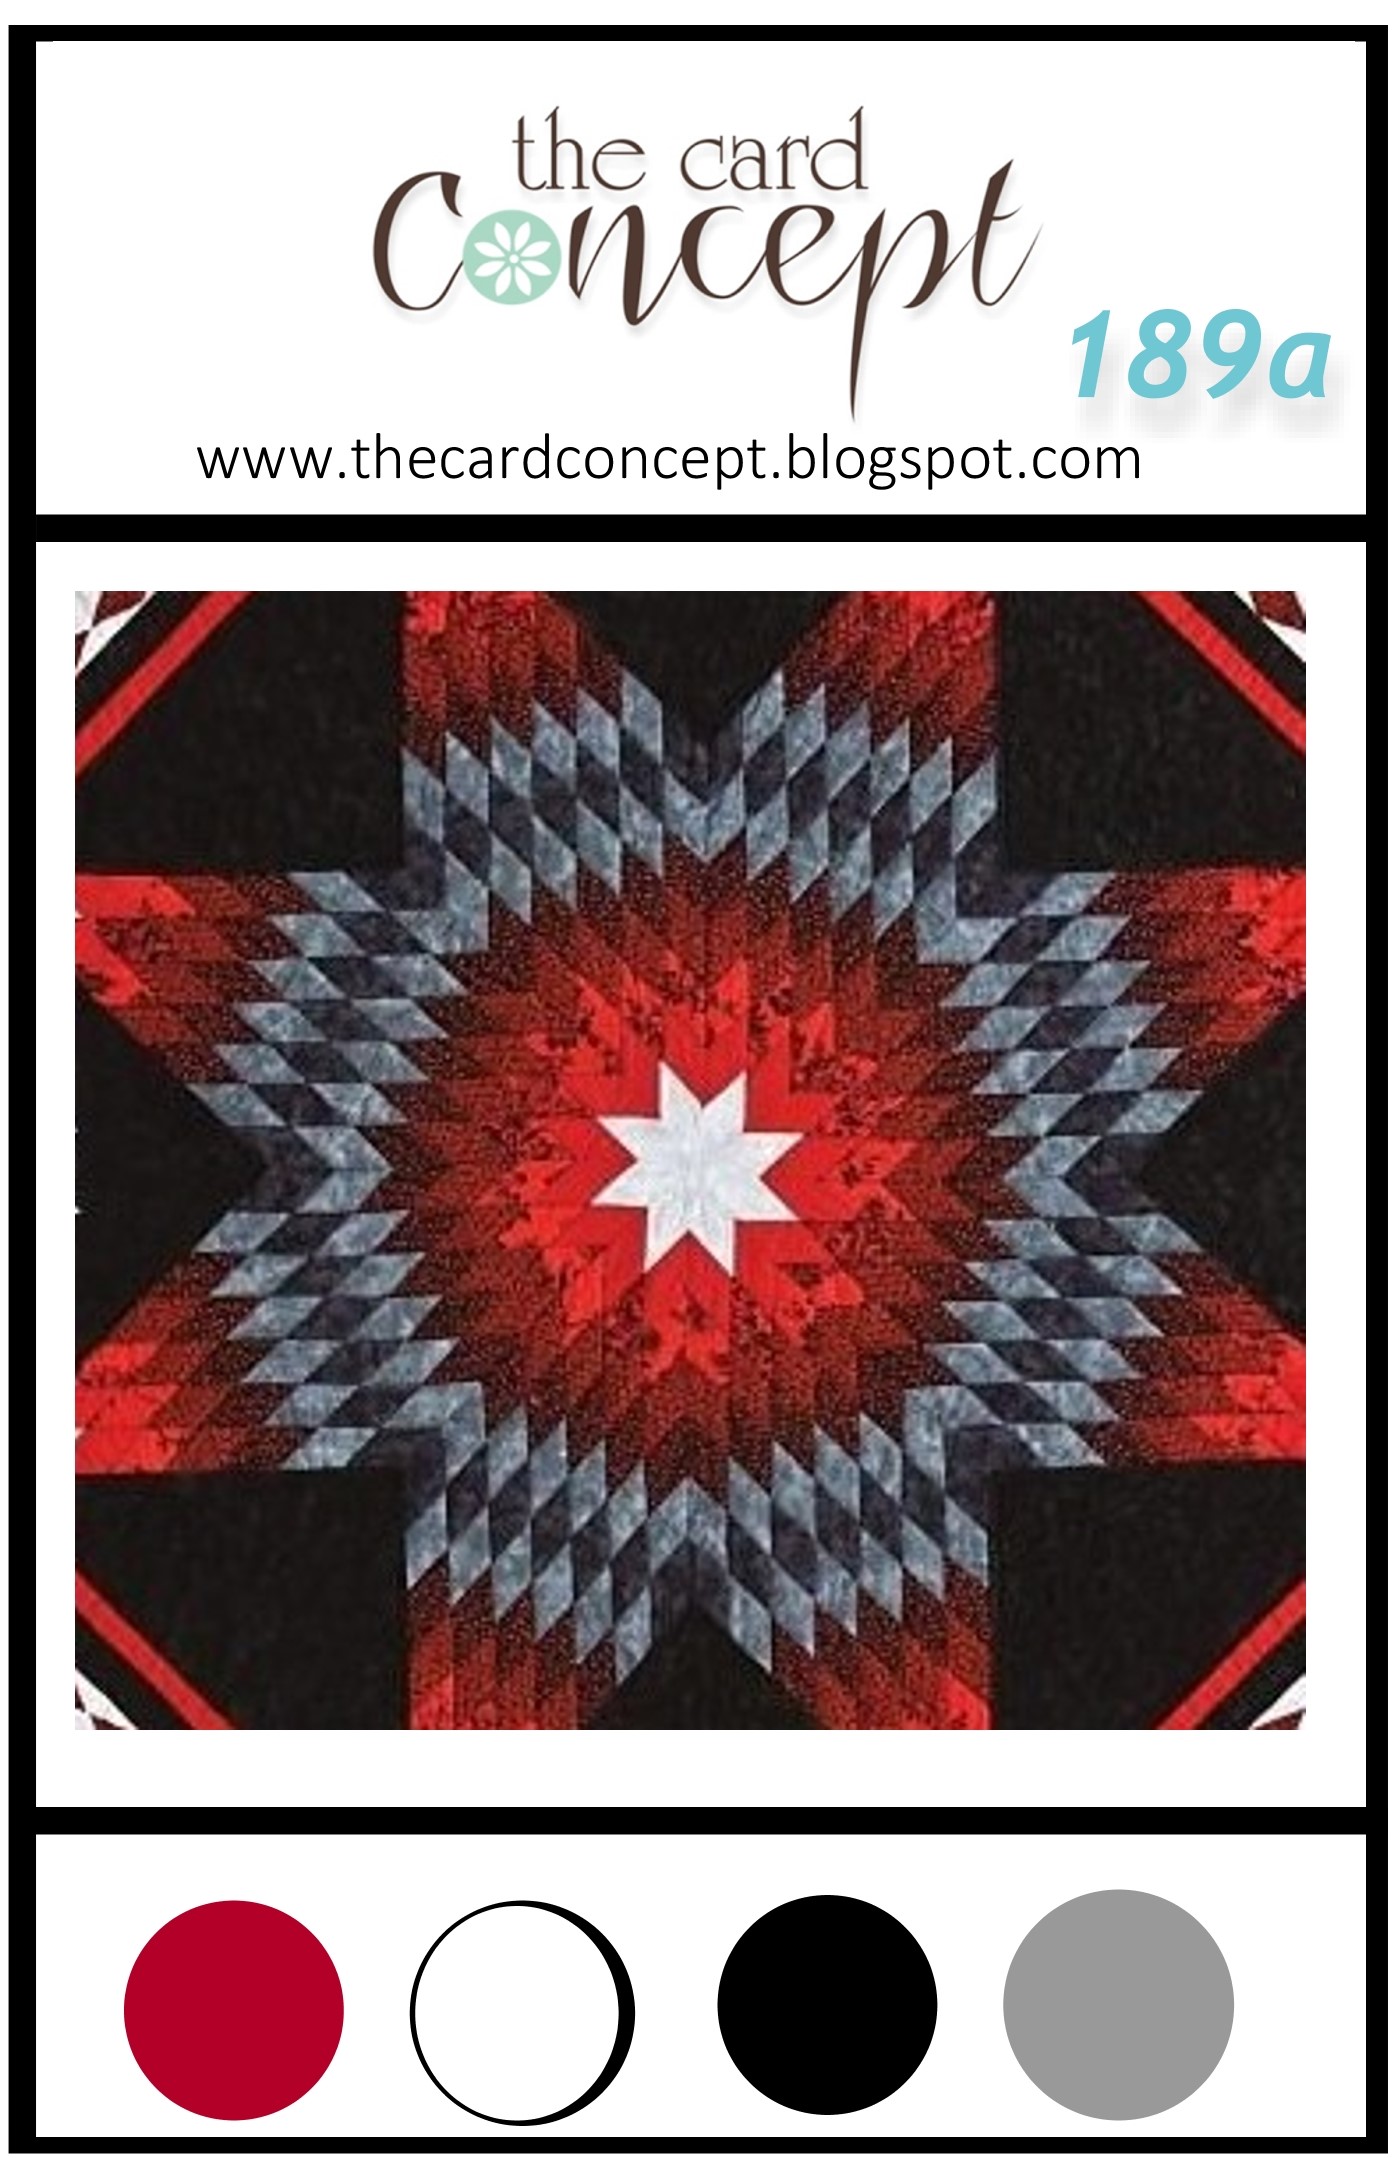
Welcome to our #189 {Cozy Comfort} or {Vintage Hearts} Challenge at The Card Concept! The Card Concept is a bi-weekly challenge and we would love for you to create a card based on one of our inspiration photos and join us!

I love both of the inspiration photos for our mid-month two photo challenge, but I absolutely loved the quilt photo and the bold graphic colors!  I was inspired by the both the quilt and colors for my Clean and Layered / Clean and Graphic card!

As many of you who follow my blog also know, I enjoy participating with other online challenges (I know how much work goes into maintaining a challenge blog and want to give support).  I will be linking this card to the Simon Monday “Frame It” Challenge along with the Through the Purple Haze “#201 Anything Goes” Challenge.  

If you have not had a chance to check out the galleries at the Simon Monday or Purple Haze sites, I hope you will take time to check them out!  Also, stop by the  The Card Concept to see the rest of the DT designs and which photo they chose-  we would love to have you participate with us!


This card was fairly easy to create.  I die cut the quilt die from black and white cardstock as well as from a red and grey sheet of the Craft Consortium Grunge- Dark Tones 6x6 paper pad before piecing them all together on a scrap piece of white cardstock.

The quilted pieced panel was dry embossed with the Wire Fence embossing folder before being mounted, trimmed and framed out with layers of white and black cardstock.

Another horizontal strip of the designer papers along with gray taffeta ribbon were added as well as a rhinestone.


The sentiment was heat embossed with clear embossing powder from the Words of Encouragement stamp set from Stamp Simply.


I love this stamp set for the encouraging Scripture verses that are perfect for cards for those who may be recovering from surgery, illness, facing difficult life situations, and/or just need an encouraging word!

Stamp Sets: Words of Encouragement (Stamp Simply)

Inks/Mediums: Versafine Onyx Black

Cardstock/Paper: White, Black, Craft Consortium Grunge- Dark Tones


Accessories/Tools: Gemini, Jr., Wire Fence Embossing Folder, Quilt Die (retired from Wplus 9), Embossing Powder Tool, Clear Embossing Powder, Heat Tool, Silver Rhinestone, Gray Taffeta Ribbon (retired Stampin’ Up!)


Thanks again for taking the time to visit! Here is the Vintage Hearts photo for your inspiration- you could create a card inspired by either photo- colors, theme, items, texture, or something else could inspire you. 

I hope you are inspired to create a card and join us for ! our #189 {Cozy Comfort} or {Vintage Hearts} Challenge at The Card Concept !  

Wednesday, July 8, 2020

I Have Put My Trust In You


Hi Friends!

I am sharing another quick card that was designed the My Favorite Things™ Quilt Cover Up Die along with the retired Verve stamp set, Good Work.

I am trying to ink up my stamp sets and use my dies that have not been used ever (or in a while) and both of these items have been in my craft room for at least a year and not used at all.

I love playing along with online challenges and will be linking this card to Word Art Wednesday#446-#447 “Anything Goes” Challenge and the Double D “Stitches” Challenge (I was inspired by the bottom half of the inspiration photo and used a quilt top embossing folder to add faux stitching to the quilt).

If you have not had a chance to visit the challenge sites yet, I encourage you to do so, wonderful inspiration from all!

To create this card:

Using a tin tile embossing folder, emboss a piece of white cardstock, trim to a 5 ¼” x 5 ¼’ size and mount onto a 5 ½” square piece of black cardstock.  Mount the layered background panel onto a 5 ½” white card base.

Die cut the Quilt Cover Up die from black, red, yellow and blue cardstock.  Tip- I apply Press ‘n Seal™ to back of the die cut before removing from the die and it helps with keeping all of the pieces together.

Paper piece the quilt together onto a piece of white cardstock (I cut the white cardstock slightly smaller than the actual size of the finished die).  

Emboss the entire quilt panel with a quilt embossing folder and mount onto the card front using dimensional foam (or chipboard).

Using Versafine™ Onyx Black Ink stamp the sentiment onto white cardstock, apply clear embossing powder and heat set with a heat tool.  Once the embossing has cooled, die cut with a banner die.  Mount onto black cardstock and trim close to the die cut edge.

Mount the sentiment to the card front and finish off the card with a yellow button in the center of the quilt (I used black hemp twine for the "thread").

Stamp Sets: Good Work (retired Verve Stamps)

Ink/Mediums: Versafine™ Onyx Black

Cardstock/Paper:  Whisper White, Basic Black, Real Red, Daffodil Delight, Night of Navy (all Stampin’ Up!)

Accessories: Gemini, Jr.™, Dies- MFT Quilt Cover Up, Tall Banner STAX; Quilt Top and Tin Tile 3D Embossing Folders (Stampin’ Up!), Daffodil Delight Jumbo Button, Black Hemp Twine, Embossing Buddy, Clear Embossing Powder, Heat Tool

Thanks again for visiting and I hope you have a wonderful week!

Monday, May 20, 2019

TCC115 Log Cabin Quilt


Hi Friends!

In creating my card for The Card Concept #115 {Mosaic Madness} Challenge  I ended up designing three cards based on the inspiration photo.  

That’s how it works for me sometimes- I will be inspired to create and will design several cards, then I have to choose my favorite for the Design Team post :-)  

While I am pleased with the way this card turned out, I felt that the initial card that I chose for the DT post (here) was a better interpretation of the mosiac medallions in the inspiration photo :-)

I love the patterns and colors of the inspiration photo and they reminded me of a quilt.  I had not used the Divinity Designs LLC Log Cabin Quilt stamp image in quite a while and decided to pair it with a verse sentiment from God Verses 2 (a set that I had not inked at all yet), plus I was able to finally use an embossing folder that I have owned for months and never used before!

I love to participate in online challenges and will be linking this card to the Simon Says Wednesday “Stitches” Challenge  (faux stitching on my card)  along with the Word Art Wednesday #386-#387 “Anything Goes” Challenge.

If you have not had a chance to visit us at The Card Concept or the other challenge sites yet, I hope you will find time to do so- wonderful inspiration from all!

To create this card:

1). Score and fold a piece of 4.25” x 11” heavy white cardstock in half.  Emboss a piece of designer paper with the quilt embossing folder, trim to approx. 4” x 5 ¼”, mount onto a piece of espresso cardstock, trim once more to approx. 4 ⅛” x 5 ⅜”.  Add the piece of white crochet lace and a strip of 5/8” espresso satin ribbon (wrapping the ends of the ribbon to the back of the panel).  Mount the entire panel onto the white card base.

2).  De-static a piece of white cardstock with an embossing powder tool, stamp quilt image from Log Cabin (Divinity Designs LLC formerly Our Daily Bread Designs) using Versafine™ Onyx Black Ink, apply clear embossing powder and heat set with the heat tool.  Once the embossing has cooled, color the image with water-based markers.

3). Fussy cut the quilt image and mount onto a piece of white cardstock die cut with a stitched square die.  Mount the quilt onto the card front using dimensional foam.

A closer look at the quilt image and the stitched elements
4).  De-static another scrap piece of white cardstock with an embossing powder tool, stamp the verse sentiment from God Verses 2 (Divinity Designs LLC formerly Our Daily Bread Designs) using Versafine™ Onyx Black Ink, apply clear embossing powder and heat set with the heat tool.  Once the embossing has cooled, die cut the sentiment with a stitched rectangle die, mount onto espresso cardstock and trim close to the edge.

5).  Mount the sentiment onto the card front and add a few buttons with strips of cardstock (for the “thread”) to finish off the card.

Stamp Sets:  Log Cabin Quilt, God Verses 2 (both Divinity Designs LLC)

Ink/Mediums: Versafine™ Onyx Black,  Stampin’ Write Markers- Crushed Curry, Coastal Cabana, Early Espresso, Pumpkin Pie

Cardstock/Paper: Whisper White, Early Espresso; misc. designer paper (pumpkin color- cannot recall manufacturer)

Tools/Accessories: Big Shot™,  Quilt Embossing Folder (Stampin’ Up!), My Favorite Things™ Stitched Rectangle and Square Dies, Embossing Buddy®, Clear Embossing Powder, Heat Tool, 5/8” Early Espresso Ribbon (retired SU!), White Crochet Lace (from my stash), Misc. retired SU! buttons

Thanks again for taking the time to visit!  I hope I have inspired you to create your own card based on our {Mosaic Madness} photo and link up to our gallery at The Card Concept- we would love to see your interpretation!! The challenge is open until Monday, May 27th at noon (EDT).

Tuesday, December 5, 2017

SUO189 Merry Christmas Quilt Card Set


Hi Friends!   

It’s time for the #189 “FavoriteHoliday Colors” Challenge at SU-Only Challenges! I love so many different holiday colors for Christmas- blue with silver, gold and white, pinks and purples but decided that this year I will be designing the bulk of my Christmas cards with the traditional green and red.     

For this challenge, I paired the Christmas Quilt Bundle with the Star of Light stamp set (both from the Holiday Mini Catalog) for this quick and easy card.

I am also participating in the Simon Says Wednesday “Anything Goes” Challenge along with the FUSION “Red Christmas” Challenge (I was inspired by the colors in the photo as well as the plaid patterns).

If you have not had a chance to stop by the SU-Only Challengesite to check out the rest of the Design Team’s samples or the other challenge sites yet, I encourage you to do so- gorgeous inspiration from all!

When you design with the quilt dies, you have to cut an entire "quilt" using each color so you are able to use all of the pieces to create a set of four individual "quilts"- what a bonus!!
  
To create this set of cards:

1). Using the Big Shot™ with the Softly Falling Textured Impressions™ Embossing Folder, emboss four pieces of Whisper White cardstock, trim and mount two onto Garden Green cardstock and two onto onto Real Red cardstock.  Trim each again and mount onto the green bases onto Real Red cardstock and the red bases onto Garden Green cardstock.  Mount each to an Extra Thick Whisper White card base.

2). Using the Big Shot™ with the Quilt Builder Framelits Dies, cut four quilts along with the outside frame, one each from Real Red, Garden Green, Whisper White and the Garden Green gingham pattern from the Quilted Christmas 6” x 6” Designer Series Paper (DSP).  *** Tip- Use Press ‘n Seal® on the back of each die cut (press the sticky side down before you remove the quilt from the die).  This will help keep all of the pieces together as you create each of the quilt designs.

3). Using Whisper White cardstock, cut four pieces 2 ¾” x 2 ¾” square for the “base” of the quilt.  Apply adhesive onto the base and create each of the quilt patterns.

4). Once all of the quilt patterns are completed, mount a quilt onto each card front on the diagonal using Stampin’ Dimensionals®.

5). Ink the sentiment from the Star of Light stamp set with Garden Green Classic Ink and stamp onto a scrap piece of Whisper White cardstock. Trim, create the fishtail banner by hand ((I used the retired Hexagon Punch), mount onto Real Red cardstock and adhere to the card front with Stampin’ Dimensionals®.
 
6). Add the Pearl to the center of each quilt to finish off the cards. 

Stamp Sets: Star of Light

Ink/Mediums: Garden Green

Paper: Whisper White, Extra Thick Whisper White, Garden Green, Real Red; Christmas Quilt 6x6 DSP

Accessories/Tools: Big Shot™, Quilt Builder Framelits™, Softly Falling Textured Impressions™ Embossing Folder,  retired Hexagon Punch, Pearls

Thanks again for taking the time to stop by and I hope that you will create your own Stampin’ Up! Only project and join us for our “Favorite Holiday Colors” challenge!

Wednesday, September 20, 2017

TCC78 Hello Baby


Hi Friends!!


I just love all of the fun pastel colors, the sweet stuffed animals and the cat figurine and plate in this sweet inspiration photo that Lesley found for us! I decided to use the new Stampin’ Up! Cat Punch and Quilt Builder Framelit™ Dies to create my Freestyle Collage/Shabby Chic card.

I also incorporated the As You See It #158 "Doily Dreams" Sketch Challenge and the Joy of Sets #006 -“Letter T” Challenge into the design (I used Teeny Tiny Wishes).

If you have not had a chance to do so, I hope you will find the time to check out the rest of the wonderful Design Team cards at The Card Concept as well as the entries at the other challenge sites- fabulous inspiration from all!

To create this card:

1). Trim a piece of Whisper White cardstock, mount onto a piece of Pool Party cardstock, trim again and mount onto a piece of Pink Pirouette cardstock. Mount the entire panel to the Extra Thick Whisper White card base.

2). Die cut a piece of Pool Party cardstock with a stitched rectangle die and mount onto the card front.

3). Create the quilt block using the new Quilt Builder Framelits™- I used retired Stampin’ Up! designer papers- Crushed Curry (from an old hostess pack), Pool Party and Pink Pirouette along with Whisper White cardstock.  I cut four of the quilt dies and pieced all four onto squares of coordinating cardstock (for this card I used Whisper White as the frame and base).  Add a white tea lace doily behind the quilt and adhere the strip of retired Pool Party ¼” stitched satin ribbon with the pink button embellishment.  Mount the entire quilt assembly onto the card front with dimensional foam.

4). Use the Cat Punch to punch out three cats- one from Pink Pirouette cardstock and two from Whisper White cardstock.  Layer the pieces together and mount onto the card front with dimensional foam.

5). Ink the “Hello Babby” sentiment from Teeny Tiny Wishes with archival black ink, stamp onto a piece of Whisper White cardstock and create the fishtail banner with the retired Hexagon Punch (or by hand).  Mount the sentiment onto piece of Pink Pirouette cardstock (allowing just the end to peek out), tuck the end under the Cat Punch and adhere to the card front with dimensional foam.

Stamp Sets:  Teeny Tiny Wishes

Ink/Mediums: Versafine™ Onyx Black Ink

Cardstock/Paper: Whisper White, Extra Thick Whisper White, Pool Party, Pink Pirouette; retired DSP- Crushed Curry, Pool Party, Pink Pirouette

Accessories: Big Shot™, Quilt Builder Framelits™ , Cat Punch, MFT Stitched Rectangle STAX Dies, White Tea Lace Doily, ¼” Pool Party Stitched Satin Ribbon, Pink Pirouette button, Hemp Twine

Thanks again for taking the time to stop by!  I hope I have inspired you today and that you will be able to join us for the #78“Pastel Party” Challenge at The Card Concept! 

Saturday, July 30, 2016

A Sneak Peek....Birthdays are Feathers in the Wings of Time


Hi Friends!

I hope all of you are having a great weekend so far!  Today I am sharing a card designed using the brand new stamp set, Woodpecker to be released on August 1 at Our Daily Bread Designs.

My husband Dave and I love to watch birds and the Red-Bellied Woodpecker is a frequent visitor to our suet and peanut feeders!  

They are a shy bird and extremely fun to watch, so I was thrilled to see this new Woodpecker stamp set in the Our Daily Bread Designs August 2016 Release :-)

I am incorporating the Splitcoaststampers’ SC601 Sketch Challenge into the design along with the Watercooler Wednesday Challenge #78 Jean's “B” Theme (Birthday, Button, Bow, Bird, Branch, Border).

 If you have not had a chance to check out the above challenge sites or the Our Daily Bread Designs Blog yet, I would encourage you to visit soon- fabulous examples from all!!


To create this card:

Using the Our Daily Bread Designs (ODBD) Flourished Star Pattern Die, cut and emboss a piece of white cardstock as well as a piece of the ODBD Americana Quilt 6x6Paper Collection, cut the pieces in half (a bit larger than half for the Americana Quilt piece), mount the white die cut piece onto the top portion of a piece of brick red cardstock, add the Americana Quilt piece to the lower half, trim the brick red cardstock panel and mount onto a piece of denim blue cardstock before adhering this entire card front onto the white card base.

Ink the ODBD Woodpecker image with Stāz-On® Jet Black Ink, stamp onto white cardstock, color with alcohol markers,  "fussy-cut" and use a water brush to add a bit of frost white shimmer paint to the wings and tail area (hard to see the shimmer in the photo).  

This card uses quite a few dies for the layers:

1).  Die cut and emboss a piece of white cardstock with the largest die in the ODBD Layered Lacey Square Dies

2). Die cut and emboss various pieces of the ODBD Americana Quilt 6x6 Paper Collection with ODBD Pierced Squares Dies (one larger than the other)

3), Die cut and emboss a piece of white cardstock with the ODBD Matting Circle Dies, stamp the sentiment from Woodpecker onto the die cut using Stāz-On® Jet Black Ink

4). Die cut and emboss a cut a  piece of denim blue cardstock with the ODBD Double Stitched Circle Dies

Layer both of the die cut Americana Quilt 6x6 Paper Collection pieces onto denim blue cardstock, trimming the edges close.

Cut the die cut Layered Lacy Square Die piece approximately in half (layer behind the larger pierced Americana Quilt Die cut piece to determine where to cut).

Mount this layered panel onto the card front, add the smaller die cut and layered pierced square along with the stamped and layered circle sentiment.

Add the silver metallic thread bow with the red button and mount the Woodpecker image with dimensional foam to finish off the card.

I hope I have inspired you with this new ODBD Woodpecker stamp set and check out the Our Daily Bread Designs website on August 1, 2016 for the entire new release!

Thanks again for taking the time to visit- I hope all of you have a blessed weekend!

In addition to the ODBD Woodpecker (sneak peek) stamp set, I used the following items:

Monday, February 15, 2016

Psalm 129:8- The Blessings of the Lord


Hi Friends!

I hope all of you had a fun Valentine’s Day weekend!  I was able to spend a bit of time designing cards this weekend for a few of my Design Team challenges (will be sharing these later this week) but I also was able to create a card using the Our Daily Bread Designs "Shining the Light" ODBDSLC270 Sketch Challenge along with the Splitcoaststampers’ (SCS) CC569 Color Challenge and the Just Add Ink  JAI298"Just Add V" Challenge (Verse for the sentiment).


If you have not done so already, I hope you will find the time to check out the Design Team samples and gorgeous gallery at Our Daily Bread Designs (ODBD) as well as the SCS and Just Add Ink galleries-  fabulous inspiration from all!

This card was very easy to create:

Ink the Quilts (ODBD) stamp image using Stāz-On® Jet Black ink and stamp onto Whisper White cardstock.

Use an AquaPainter™ to apply ink from Stampin’ Write Markers- Lost Lagoon, Old Olive and Watermelon Wonder to the quilt square and once dry, apply Clear Wink of Stella® to a few areas (this is difficult to see in the photo), fussy-cut the quilt square and layer onto a piece of Lost Lagoon cardstock.

Use the Big Shot™ with the ODBD Double Stitched Circle Dies to cut out a circle and the ODBD Pennants Dies to cut out (and emboss the pennant) from Watermelon Wonder cardstock and the Layered Lacey Squares Die to cut out a piece from Whisper White cardstock.

Ink the ODBD Chalkboard Vine Background stamp with Watermelon Wonder Classic Ink and stamp off once before stamping onto the Double Stitched Circle die cut and Pennant Die Cut.

Emboss a piece of retired Old Olive Designer Series Paper with the retired Square Lattice Textured Impressions™ Embossing Folder, use a zig zag stitch with white thread to attach it to a piece of Lost Lagoon cardstock, trim and mount onto the Watermelon Wonder card base.

Cut the Pennant Die cut (to split the die) and mount the Pennant Die cut along with the Layered Lacey Square die cut onto the card front.

Mount the Quilts image on a diagonal onto the Double Stitched Circle die cut and add the layered image the card front using dimensional foam.

Stamp the verse from the ODBD Doily Blessings stamp set with Stāz-On® Jet Black ink, stamp onto Whisper White cardstock and die cut with the ODBD Double Stitched Circle Dies.

Layer the die cut sentiment onto a piece of Lost Lagoon cardstock (also die cut with the same size ODBD Double Stitched Circle Die) and mount onto the card front with dimensional foam.

Add the Lost Lagoon 3/8” Stitched Satin Triple Bow with Pearls to finish off the card.

Stamp Sets: Quilts, Chalkboard Vine Background, Doily Blessings (all ODBD)

Ink: Stāz-On® Jet Black, Watermelon Wonder; Stampin’ Write Markers- Lost Lagoon, Old Olive, Watermelon Wonder

Paper: Whisper White, Lost Lagoon, Watermelon Wonder, retired Old Olive DSP

Accessories: Big Shot™,  ODBD Dies- Layered Lacey Squares, Double Stitched Circles, Pennant; retired Square Lattice Textured Impressions™ Embossing Folder, 3/8” Lost Lagoon Stitched Satin Ribbon, Pearls, Sewing Machine, White Thread, AquaPainter™, Clear Wink of Stella®


Thanks again for taking the time to visit- hugs and have a blessed week, my friends!
Related Posts Plugin for WordPress, Blogger...