Showing posts with label Simon Says Monday Challenge. Show all posts

Tuesday, January 3, 2017

SUO 165 New Stuff, New Year- Beautiful You


Hi Friends!   


For my quick CAS card, I decided to use the brand new Occasions Mini Stamp Set, Beautiful You along with the Timeless Textures Stamp Set (from the Idea Book and Catalog).


If you have not had a chance to stop by the SU-Only Challenge site to check out the rest of the Design Team projects or the other challenge sites, I hope you will do so- wonderful inspiration from all!

This was an extremely easy card to create:

1). Ink the Beautiful You image with Stampin’ Archival Basic Black Ink and stamp onto Whisper White cardstock.

2). Using Stampin’ Write Markers- Flirty Flamingo, Pool Party and Smoky Slate with an AquaPainter™, add color to the image.  FYI- I use a silicone mat, scribble the ink onto the mat and pick it up with the AquaPainter™.  Just be careful not to “work” the area too much since the Whisper White cardstock will start to “pill”.

3). Add additional color with the markers directly to the images and use the AquaPainter™ to soften the edges.

4). Ink one of the scribbly wash images from Beautiful You to add additional Pool Party to the area below the dancing image and area for the sentiment.

5). Ink the Beautiful You sentiment with Stampin’ Archival Basic Black Ink and stamp.
6). Add a bit of splatter with the small splatter stamp from Timeless Textures (I inked the stamp with the Pool Party and Smoky Slate SU! markers).

7). Trim the panel, mount onto Flirty Flamingo cardstock, trim again and mount onto Pool Party cardstock before trimming once more and mounting onto the Extra Thick Whisper White card base.

8). Add shimmer to her dress and hat with Clear Wink of Stella® to finish off the card.
Stamp Sets:  Beautiful You, Timeless Textures
Ink: Stampin’ Archival™ Basic Black, Stampin’ Write Markers- Flirty Flamingo, Pool Party, Smoky Slate; Clear Wink of Stella®
Paper/Cardstock: Whisper White, Flirty Flamingo, Pool Party, Extra Thick Whisper White
Accessories: AquaPainter™
 Thanks again for taking the time to visit – I hope that you will create your own Stampin’ Up! Only project and play along with our “New Year, New Stuff” challenge!

Tuesday, December 20, 2016

SUO164- Hey, Chick! Sneak Peek for SAB


Hi Friends!   

It’s time for the SUO164  “Circles or Ovals or Squares, Oh My!” Challenge at SU-Only Challenges!  I decided to take a break from Christmas cards and give you a sneak peek of a fun new Sale-A- Bration stamp set, Hey, Chick with a fun Mixed Media card :-)
 
Staring January 4, 2017  through March 31, 2017– for every $50 in purchases (not including sales tax or shipping), you can select one of the SAB items for free and Hey,Chick is so cute, I could not resist!! Those chickens look so frazzled, just like our lives are at times and I love the sweet sentiments as well :-)

I am also linking this card to the Simon Says Monday “Party Time” Challenge- if you have not had a chance to stop by the SU-Only Challenge site to check out the rest of the Design Team projects  or the Simon Says Challenge site, I hope you will do so- spectacular inspiration from all!

To create this card:

Ink the Hey, Chick images with Stampin’ Archival Basic Black Ink and stamp onto Whisper White cardstock.

Die cut the images with Circle Framelits™ (also die cutting two circles for each image from black cardstock).

Color the stamped chicken images with the new Stampin’ Up! Watercolor Pencils (yes, you read that correctly, the new Occasions Mini will have watercolor pencils in colors to match sixteen of the exclusive SU! Colors- yea!!) along with Stampin’ Write Markers.

Once you are satisfied with the coloring of the images, use Clear Wink of Stella to add shimmer to the chickens (I added it to their head areas :-)).  A chick has to have some shimmer, right? 

Layer the die cut black circles behind the images and set aside.

Emboss a piece of Whisper White cardstock with the Woodgrain Textured Impressions™ Embossing Folder, trim and mount onto a piece of Basic Black cardstock, trim and mount onto the Whisper White card base.

Adhere a strip of the Serene Scenery DSP Pack paper onto Basic Black cardstock and mount into the card front.

Heat emboss the sentiments from Hey, Chick with white embossing powder onto Basic Black cardstock creating the fish tail banners either by hand or using the retired Hexagon Punch (you can also use a square punch).

Mount the chick images and sentiment using Stampin’ Dimensionals® (I did adhere the far left chick directly to the card front) and add a bit of Clear Wink of Stella® to the chickens to finish off the card,

Mount the chick images and sentiment using Stampin’ Dimensionals and add a bit of Clear Wink of Stella®
Stamp Sets:  Hey, Chick
Ink: Versamark™, Stampin’ Archival™ Basic Black, SU! Watercolor Pencils, Stampin’ Write Markers; Clear Wink of Stella®
Paper/Cardstock: Whisper White, Basic Black; Serene Scenery DSP Pacok
Accessories: Big Shot™, Woodgrain Textured Impressions™ Embossing Folder, Circle Thinlits™, Embossing Buddy®, Heat Tool, Stampin’ Emboss® White Embossing Powder
Thanks again for taking the time to visit – I hope that you will create your own Stampin’ Up! Only project and play along with our “Circles or Ovals or Squares, Oh My!” challenge!
Hugs and have a blessed Christmas week, my friends!

Wednesday, December 14, 2016

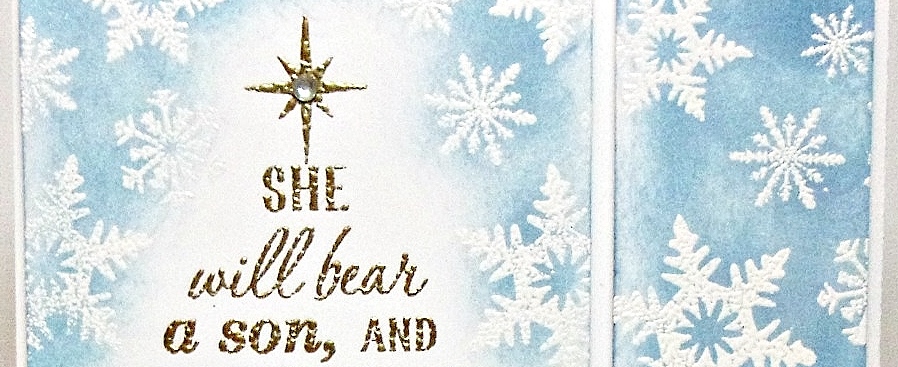
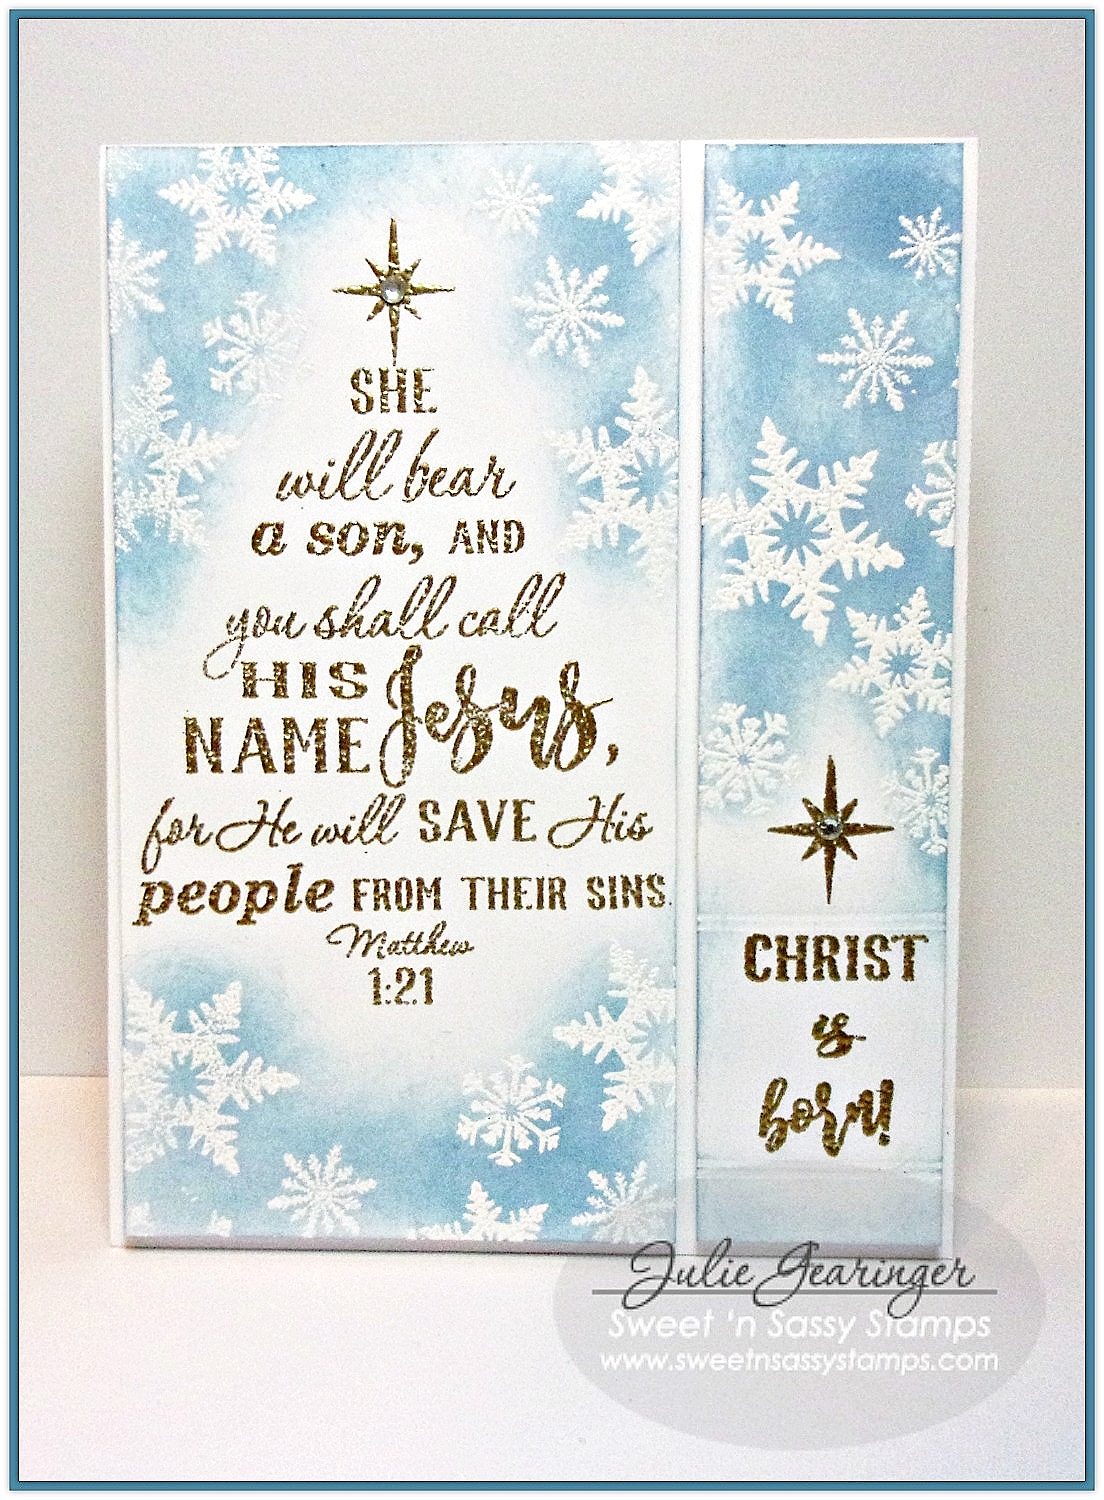
You Shall Call His Name Jesus


Hi Friends!  

This Clean and Simple (CAS) Christmas card is the "stepped up" version of the original design for the Splitcoaststampers’ SC623 Sketch Challenge  and I am also linking to the CAS MIX-Up for December and the Simon Says Monday "Let There Be Snow" Challenge.

I decided to keep the card very simple and created two versions- this post has version #1 and both versions use Sweet ‘n Sassy Stamps Clear Stamp Sets, Scripture Tree and Winter Blessings.

In addition  to checking out the above challenge sites, if you have not stopped by the Sweet ‘n Sassy Stamps blog or FB page yet, I hope you will take the time to do so- fabulous inspiration is posted each week from the SNSS Creative Team!

To create this card:

1).  De-static a piece of white cardstock with an embossing static tool, ink the SNSS Scripture Tree Clear Stamp main tree image with embossing ink and stamp onto the upper left hand portion of the panel.

2). Apply gold embossing powder and heat set with a heat tool.

3). Repeat the same steps above with placing the individual word images from SNSS Scripture Tree Clear Stamp Set, stamping and embossing on the lower right hand side of the trimmed piece of the panel.

4). Ink just the star from the SNSS Scripture Tree image with embossing powder, apply gold embossing powder and heat set.

5). Once the powder has cooled, score double lines above and below the sentiment area (hard to see in the photo).

6). De-static both panels again with an embossing static tool, arrange various snowflakes from the SNSS Winter Blessings Clear Stamp Set, ink with embossing powder and stamp around the panels.

7).  Apply white embossing powder over the stamped snowflakes and heat set with a heat tool.

8). Use a sponge dauber with Tumbled Glass Distress Ink to sponge over the snowflake areas and lightly wipe with a paper towel to remove the excess ink from the embossing.

9). Adhere the panels to the white card base with dimensional foam (leaving a space in the center per the sketch) and add rhinestones to the stars to finish off the card.

Quick and easy!!  This version has a bit more color than the all white version (see here in this post). 

Thanks again for taking the time to visit-hugs and I hope you have a fabulous week, sweet friends!


Wednesday, November 23, 2016

May Your Days Be Merry & Bright


Hi Friends! 

I am still working on Christmas cards and decided create quick, fairly easy Christmas card using the Our Daily Bread Designs November 2016 Release stamp set, Merry& Bright Clear Stamp Set along with the ODBD Snowflake Sky Dies and ODBD Snow Crystals Dies and previously released ODBD Filigree Frames Dies.

I am linking this card to the Simon Says Monday “Trio Tastic” Challenge as well as the Weekly Christmas Card #49 Challenge (optional color challenge that I did not participate in this time) and the Paper Players Clean and Simple PP322 Christmas Challenge. 

To create this card:

Die cut the ODBD Snowflake Sky Die from white and light pink cardstock, layer the white background over the pink card base and add the die cut pink snowflake panel onto the die cut white panel using dimensional foam.

Die cut three of the snowflakes using the ODBD Snow Crystals Dies from white cardstock  and layer onto the card front.

Ink the sentiment from ODBD Merry & Bright Clear Stamp Set with archival black ink, stamp onto a piece of white cardstock, heat set, die cut and emboss with the ODBD Filigree Frames Dies.

Add a bit of silver metallic thread to the corners of the sentiment before mounting onto the card front with dimensional foam.

Finish off the card by adding rhinestones to the centers of the snowflakes and applying shimmer to the white snowflakes with a clear glitter pen.

Quick and easy!  I had fun designing this card and hope I have inspired you to create something this week- Christmas is just around the corner!!


Thanks again for taking the time to visit- hugs and I hope you have a blessed Thanksgiving week! 


Sunday, October 2, 2016

Joys of the Season


Hi Friends! 

Today I am sharing another quick card featuring the brand new Our Daily Bread Designs stamp set, Joys of the Season along with the new Merry Christmas Border Die from the ODBD October 2016 Release.


In addition to the gorgeous galleries at the challenge sites, if you have not had a chance to stop by the Our Daily Bread Designs Blog yet, I encourage you to do so- fabulous inspiration from my Design Team “Sisters” (affectionately known as the “Breadbasket” or “Breadsticks”).

To create this card:

Stamp the tree image from the ODBD Joys of the Season using embossing ink onto a piece of the ODBD Christmas Collection 2014 6x6 Paper Pad and heat emboss with silver embossing powder.

Distress the edges of the paper, add the thin strip of the ODBD Christmas Collection 2014 6x6 Paper Pad  (I distressed the pink layer a bit as well), adhere the panel onto rose cardstock, distress the edges once more and mount the entire panel onto the white card base.

Die cut a piece of silver foil and white cardstock using the ODBD Merry Christmas Border Die, split the words on the die (in order to fit the layout), layer with the white a bit offset to the right and mount onto the card front.

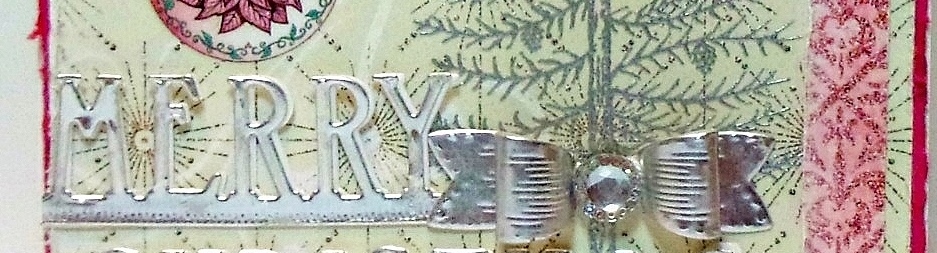
It is so difficult for me to photograph silver embossing and foil-
side view to try to capture some of the silver elements :-)
Use a silver metallic pen to color the bows and cords on the ornaments and use a clear glitter pen to add glitter to the poinsettias on the ornaments as well as around the edges (the clear glitter is difficult to see in the photo but did seem to give the ornaments a bit more dimension). 

Die cut the ODBD Mini Bow Die from silver foil paper, assemble the bow and adhere to the card front (I used the bow versus the banner in the sketch) :-).

Add the rhinestones to the ornaments as well as the iced rhinestone embellishment to the center of the bow to finish off the card.

Quick and easy- I love the pinks and the silver! Reminds me of the frosted artificial trees from the late 60’s – oops! Now I am starting to "date" myself :-)!!

Thanks again for taking the time to stop by- I hope you have a wonderful week, my friends!


Wednesday, June 8, 2016

You've Got This


Hi Friends!!

I am having a great time stamping this week and this card was designed using the  #tgif58 Color Challenge along with the Mojo Monday #451 Sketch Challenge (flipped the sketch and tilted the panel:-)) , the What Will You Stamp? #67 “You’ve Got This” Challenge and the Simon Says Monday "Summer Garden" Challenge. 

I always seem to have a difficult time capturing red shades when I photograph my cards but this card does look a bit better IRL :-).  Also, you can not see the pretty shimmer on the blossoms from the Clear Wink of Stella®- my camera is a basic point and shoot so I may need to upgrade- lol!!

Again, I hope you will take the time to visit the above listed challenge sites- fabulous inspiration from all!


To create this card:

Ink the floral image from "You’ve Got This" with Stāz-On® Jet Black Ink and stamp onto a piece of sticky note paper (repeat three times).  Fussy-cut out the images and set aside to be used as masks.

Ink the floral image again with Stāz-On® Jet Black Ink and stamp onto a piece of Whisper White cardstock, mask the image and re-ink the stamp, stamping two additional flowers onto the panel.

Remove the masks and color the entire flower with an AquaPainter™ using Daffodil Delight Classic Ink (being careful not to use too much water).

With the AquaPainter™ apply Pumpkin Pie Classic Ink onto the petals and follow with Melon Mambo, blending the ink slightly.

Dry the panel with the Heat Tool and use the Stampin’ Write Pumpkin Pie and Melon Mambo Markers to add additional color, blending with the AquaPainter™ and apply Clear Wink of Stella® to the blossoms.

Add highlights to the flower centers with the White Gel Pen.

Once you are satisfied with the color on the petals, mask the flowers, ink the background stamp from “You’ve Got This” using Melon Mambo ink and stamp over the remaining part of the background.

Add shadows with the Basic Black Stampin’ Write Marker, blending into the Melon Mambo background with the AquaPainter™.

After you have finished the background, use the AquaPainter™ to pick up excess water off your craft mat and tap onto the stamped background and flowers (to create the water drops).

Trim the stamped panel and mount onto a piece of Basic Black cardstock, trim and mount onto a piece of Pumpkin Pie cardstock, trim once more and mount onto a piece of Basic Black cardstock.

Use the Big Shot™ with the Woodgrain Textured Impressions™ to emboss a piece of Whisper White cardstock, trim and mount onto a piece of Pumpkin Pie cardstock, trim and mount onto the Basic Black card base.

Use the Big Shot™ with the Oval Framelits™ to cut an oval from Pumpkin Pie cardstock (also cutting an oval with the same size die from Basic Black cardstock), ink the background image with Pumpkin Pie Classic Ink, stamp onto the Pumpkin Pie die cut and cut both ovals in half layering the black oval behind the Pumpkin Pie layer.

Adhere the panel to the card front and mount the half oval Pumpkin Pie layer to the top of the card front per the sketch.

Stamp the sentiment from "You’ve Got This" with Stāz-On® Jet Black Ink onto Whisper White cardstock, use the Big Shot™ with the Circle Framelits™ to cut out the sentiment and mount onto a Basic Black circle cut from the same size framelit™.

Add the sentiment along with the Gold Cord and Pearls to the card front to finish off the card.

Stamp Sets: You’ve Got This (Stampin’ Up!)

Ink: Stāz-On® Jet Black Ink, Daffodil Delight, Pumpkin Pie, Melon Mambo; Stampin’ Write Markers- Pumpkin Pie, Melon Mambo; White Gel Pen, Clear Wink of Stella®

Paper: Whisper White, Basic Black, Pumpkin Pie

Accessories: Big Shot™, Circle and Oval Framelits™, Woodgrain Textured Impressions™ Embossing Folder, Gold Cord, Pearls


Thanks again for taking the time to visit- you are all such an encouragement to me!  Hugs and have a great week, my friends! 

Wednesday, April 27, 2016

Cards for A Cause- You're The Best

Hi Friends!

This card is another design that I created for the Splitcoaststampers' April 2016 MISSION- Cards for a Cause (see details here) along with the SC586 Sketch Challenge and the Simon Monday “Show Us Your Metal” Challenge.

If you have not had a chance to check out the above challenge sites, I hope you will find time to do so- wonderful samples from all!

To create this card:

Using a 2” Circle Punch, punch out the map image from the Paper Studio Cape Cod Designer Paper.

Use the Big Shot™ with the My Favorite Things™ (MFT) Stitched Circle STAX Dies to cut out a circle from Really Rust cardstock and adhere the map image circle to the die cut.

Trim the other pieces of the Cape Cod paper, adhere to a piece of Really Rust cardstock and mount onto a piece of Night of Navy cardstock using a zig zag stitch.

Apply Ranger® Tim Holtz® Old Paper Distress Ink over the edges of the sewing and paper to “age” the thread.

Wrap a piece of 1” Dark Navy Grosgrain Ribbon around the card front, add the metal Nautical Charm with an Antique Brass brad, create a metal “rope” with brass wire and loop over a strip of 5/8” Rust Satin Ribbon (wrapping the ends of the Rust ribbon behind the back of the card front).

Mount the entire panel onto the Whisper White card base.

Ink the sentiment from the retired stamp set, Simply Wonderful using Stāz-On® Midnight Blue ink and stamp onto Whisper White cardstock.

Apply Ranger® Tim Holtz® Old Paper Distress Ink over the paper, punch the ends with the Hexagon Punch to create the banner points, mount onto Really Rust cardstock and punch the banner points with the punch.  

Add the Night of Navy banner behind the sentiment and add texture to the background with the Timeless Textures stamp using Ranger® Tim Holtz® Old Paper Distress Ink.

Mount the die cut circle along with the sentiment using dimensional foam to finish off the card.

Stamp Sets: Simply Wonderful (retired SAB)

Ink/Mediums: Stāz-On® Midnight Blue, Ranger® Tim Holtz® Old Paper Distress Ink

Paper: Whisper White, Night of Navy, retired Really Rust; Cape Cod Designer Paper (The Paper Studio™)

Accessories: Big Shot™, MFT Stitched Circle STAX Dies, Sewing Machine, White Thread, Nautical Charm, Antique Brass Brad, Antique Brass Wire, 1” Dark Navy Grosgrain Ribbon, 5/8” Rust Satin Ribbon


Thanks again for taking the time to visit- I hope you have a wonderful week!
Related Posts Plugin for WordPress, Blogger...